


Over my 10-year career, I’ve worked in two of the major compositing packages in the VFX industry: After Effects and Nuke.
After Effects is the Swiss Army knife of post-production, with multiple functions, including keying, tracking, compositing, and motion graphics. It’s one of the first tools I learned because of its low barrier to entry, affordability, and ease of use.
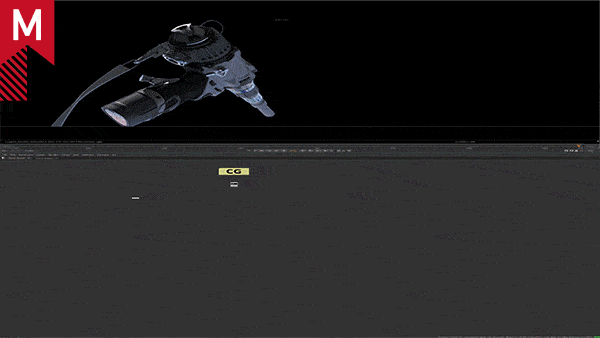
Nuke, on the other hand, is more like a surgeon’s scalpel — a dedicated and precise package built to do one thing: composite. It’s the industry standard for good reason, and it’s the tool I use at Vine FX on projects ranging from War of the Worlds to The Tourist.
Because Nuke is so ubiquitous, it’s important to know how to use it when collaborating with post-production companies or just because it gives you such a powerful set of tools for compositing.
However, when adopting new software, you can easily fall into the trap of thinking it’s just a case of learning a new layout.
Then you open Nuke for the first time…
Interface shock
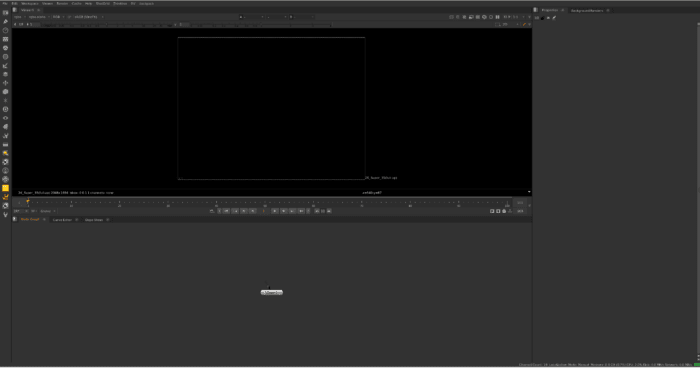
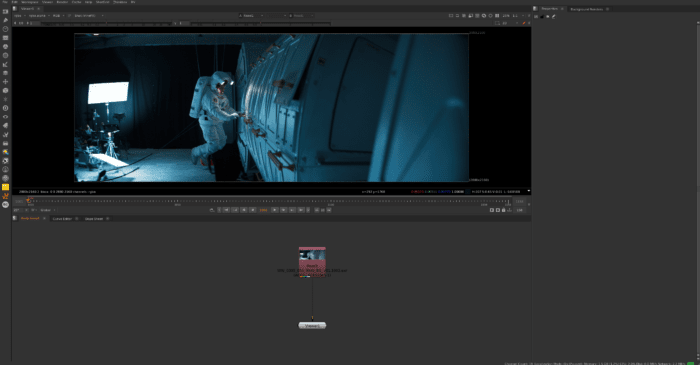
Immediately, you’re greeted with an unfamiliar layout. Whereas After Effects’ design is not dissimilar to an NLE, Nuke starts almost blank. There are similar elements, such as a timeline, but importing files is more complicated.
In Nuke, the ‘import media’ tab is named ‘read’, which differs greatly from most software. Once you bring your footage into your timeline, you still can’t see anything. You start to ask yourself questions like, “why can’t I see my footage?“ “What do all these effects mean?” and “What is this?”.
Yes, it’s a totally different way of thinking, but it’s the same as developing any new skill. It may take a moment to relearn naming conventions in order to operate Nuke, but as soon as you do, using it will become second nature.
Layers vs Nodes
AE uses layer-based compositing. The concept is similar to Photoshop or, in retro terms, cutting out pictures and sticking them on top of each other.
In AE, you have a base layer, and if you want to add an element — like an explosion or a tree in the background — you stack it on top in a new layer.
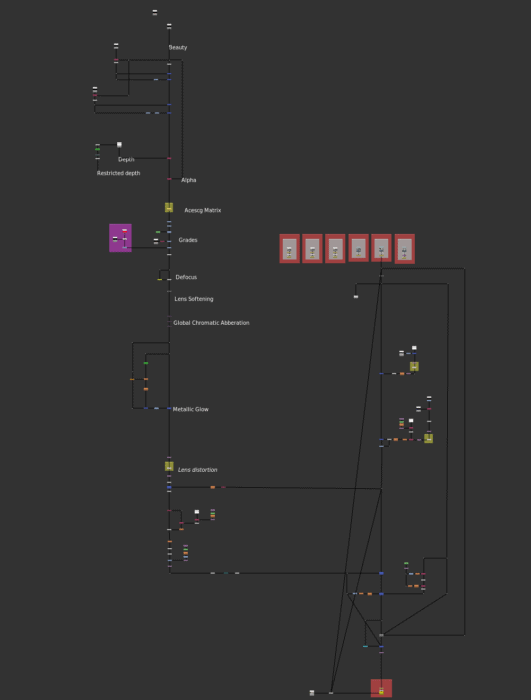
Nuke, on the other hand, uses node-based compositing, where instead of a stack of layers, we have a sort of flow chart. Here we connect one element (a node) to another to produce our final image. The node tree you create is called a “script” – a procedural representation of the final image. Simple enough, right?
The reason for this difference is to do with efficiency. After Effects is great for simpler compositions (not necessarily basic in terms of skill level, but with fewer components or effects).
But the larger the comp, with potentially hundreds of elements, the trickier it becomes to navigate. And the more efficient you need to be. For example, in AE, if you wanted to rotoscope or mask an object, you’d have to apply the same shape to every layer or duplicate the masks you want to isolate through the Track Matte function.
In Nuke, you create one node that contains the rotoscoped shape and then connect all other layers to it through the node tree. If you need to make any changes, you adjust it once in Nuke, while in AE, you would need to fix it in every layer you’ve used it in.
Nuke offers a more visual environment, making compositing big shots with many elements more manageable. It gives you granular control, which means you can produce more complex compositions more easily.
Where to begin
Let’s start small. Nuke has a plethora of nodes available, with more functions being added all the time. It would take forever to go through them all individually, so instead, I’m going to give you the top five nodes to start with and what they all do.
-
Viewer node:
This displays the render output of any connected process in the viewer panel. It’s the only node already present inside Nuke when you open it, and it has a small pipe with the number 1 sticking out.
It doesn’t affect the image in any way but enables you to see what you’re doing. This is the reason why you can’t see anything after reading your footage into the script.
First, select your file and then press 1. This will activate the viewer. The beauty of this node is that you can connect more than one viewer to it by pressing different numbers. Personally, my favourite combination is:
- What I’m working on.
- My previous render for comparison.
- The original plate.
- The final output before rendering.
Just by clicking four buttons, I can see four different views without moving the mouse. This is very time efficient.
-
Merge node:
This enables you to combine multiple images or elements together, it’s the equivalent of layering an image on top of another. When using this node, you choose how the pixel values from one image are calculated with another so that the merged image appears seamless – like how a 3D model of a cup would be placed on top of a table. When merging images, you add a B pipe for the background (in this instance, the table) and an A pipe for the foreground image (the cup).
You create this node by pressing M on the Node Graph.
-
Tracker node:
This is a 2D tracker that enables you to extract data from the position, rotation, and scale of an image. The general process for doing this is to connect the node to the image you want to track, place anchors on features, calculate the tracking data, and then choose the operation you want to perform — be it stabilise, match-move, or something else. Your images will then move in sync with one another.
-
Roto node:
Unsurprisingly, this one is for rotoscoping — essentially drawing round an object in an image to cut it out of its background. This node features point selection, manipulation, and shape-creation tools. To use, simply select your tool, draw your shapes, and use the control panel to fine-tune.
You can create this node by pressing O in the Node Graph.
-
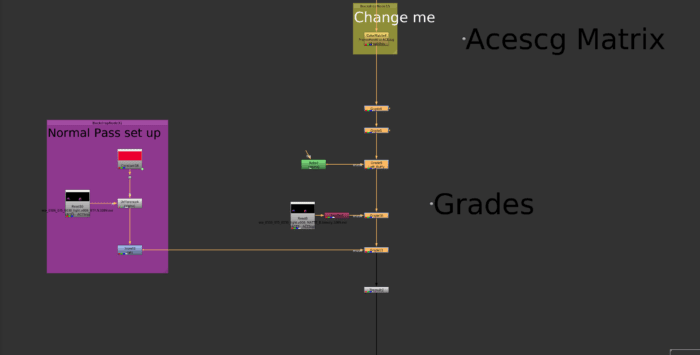
Grade node:
This is like a combination of the Curves and Level functions used for colour correction in After Effects. At Vine FX, we use this for colour matching and a general grade if needed. However, it doesn’t have as much control as DaVinci or Lightroom. There are other colour nodes to help depending on your goal, but grade is the main one most artists start with.
This node can be created by pressing G on the Node Graph.
Foundry offers a lot of useful information on nodes, what they are, and how they work.
If in doubt, always check with the company that made it.
Coding
Many compositors go their whole careers without learning to code. However, a few lines of Python can give you greater control over Nuke. Even After Effects has coded expressions (though not natively Python).
Python and expressions are widely used scripting functions integrated into Nuke. By learning some commands and workflows, you can control the user interface, quickly modify multiple nodes, and integrate with external applications.
Expression commands are different in Nuke and AE. For example, a “wiggle” expression in After Effects is called “random” in Nuke.
Again, what may seem like a lot of relearning upfront will streamline your process in the long run. You can change Colorspace and frame range on multiple files with 2-3 lines of code. You can absolutely survive without needing to know code when using Nuke, but you’ll thrive by learning it.
Where to go next
Using Nuke for the first time can seem like a daunting prospect, but there are many useful resources available to help. The absolute best thing to do, though, is practice.
Foundry offers a non-commercial version of Nuke so you can see what working with it is actually like before using it on commercial projects. It’s also free, which is a big help and goes some way to lowering the barrier of entry to Nuke.
Check out the Nuke tutorials Foundry provides and YouTube videos from endorsed creators like Hugo Guerra.
Finally, get hold of any reading resources that could help, like Nuke 101, Nodes within nodes, or Gianluca Dentici’s Python course.
Both After Effects and Nuke have their place and are fantastic tools in their own right. Motion graphics artists will love AE and its toolset. And for those wanting (or needing) to level up their compositing skills, Nuke is the best option out there.
Ultimately, by taking the time to make the jump from After Effects to Nuke for compositing, you can learn to work more effectively on larger, more complex projects.
About Alesja

As Lead Compositor at Vine FX, Alesja is dedicated to her craft. Combining her dual passions for art and mathematics, she has become an invaluable asset to the team, particularly in leading sequences on The Witcher, Season 3.
Other key projects that Alesja has worked on include War of the Worlds Season 1-3, The Serpent, Thor: Ragnarok and RTS award-winning The Lazarus Project.