


Rendering technology has evolved greatly over the past few years, with one of the best innovations being the introduction of GPU rendering (rendering using the Graphics Processing Unit or graphics cards). Having been a Cinema 4D artist for the last 8 years, the idea having the power to create and render your ideas at home was truly a dream come true. Investing in a few GPUs gives you render power at a significantly lower cost than a traditional render farm, with lower power consumption and cooling needed.
In this article we’ll discuss some of the principles you should know when building or buying your own PC render beast. We’ll start by discussing switching from Mac to PC, then we’ll dive into choosing parts for the machine based on how many GPUs you think you’ll need. To summarize, the amount of GPUs you want affects almost every other component you buy, which includes the CPU (Central Processing Unit), motherboard and power supply. To make this a bit easier to follow, I’ll be using parts from my latest PC build to help guide us through.
The Big Switch
Having been a Mac user, I was a bit dismayed when I learned I had to return to PCs to really take advantage of GPU power, fortunately they are a few PC apps that make the transition a lot easier. If you are using a Mac keyboard on PC, there is a program called sharpkeys that enables you to remap your keys to work like a Mac. Another good one is seer, this gives you the spacebar preview functionality that I really enjoyed in OSX. Finally there is PrtScr, this app allows you take screenshots quickly and efficiently with some configurable options, definitely another must have. Also, to my pleasant surprise, building a PC isn’t as difficult as it use to be. Thanks to websites like pcpartpicker, you can configure your machine with the exact parts you want while checking for any compatibility issues. The manuals for PC parts are quite clear and there are tons of YouTube videos on how to set up specific parts. Building a PC is a lot less stressful than it was several years ago.
How Many Cards?!
The first thing you’ll have to figure out is how many GPUs you’ll be using. Reason being, the amount of GPUs you’re planning to run influences how many PCI Express (commonly referred to as PCIe) lanes your CPU should have, the amount of PCIe slots your motherboard needs and the amount of wattage your power supply needs to power the beast. Heat and cooling also becomes a consideration with the more GPUs you add. We’ll be taking a look all these terms and parts in more detail in the coming paragraphs.
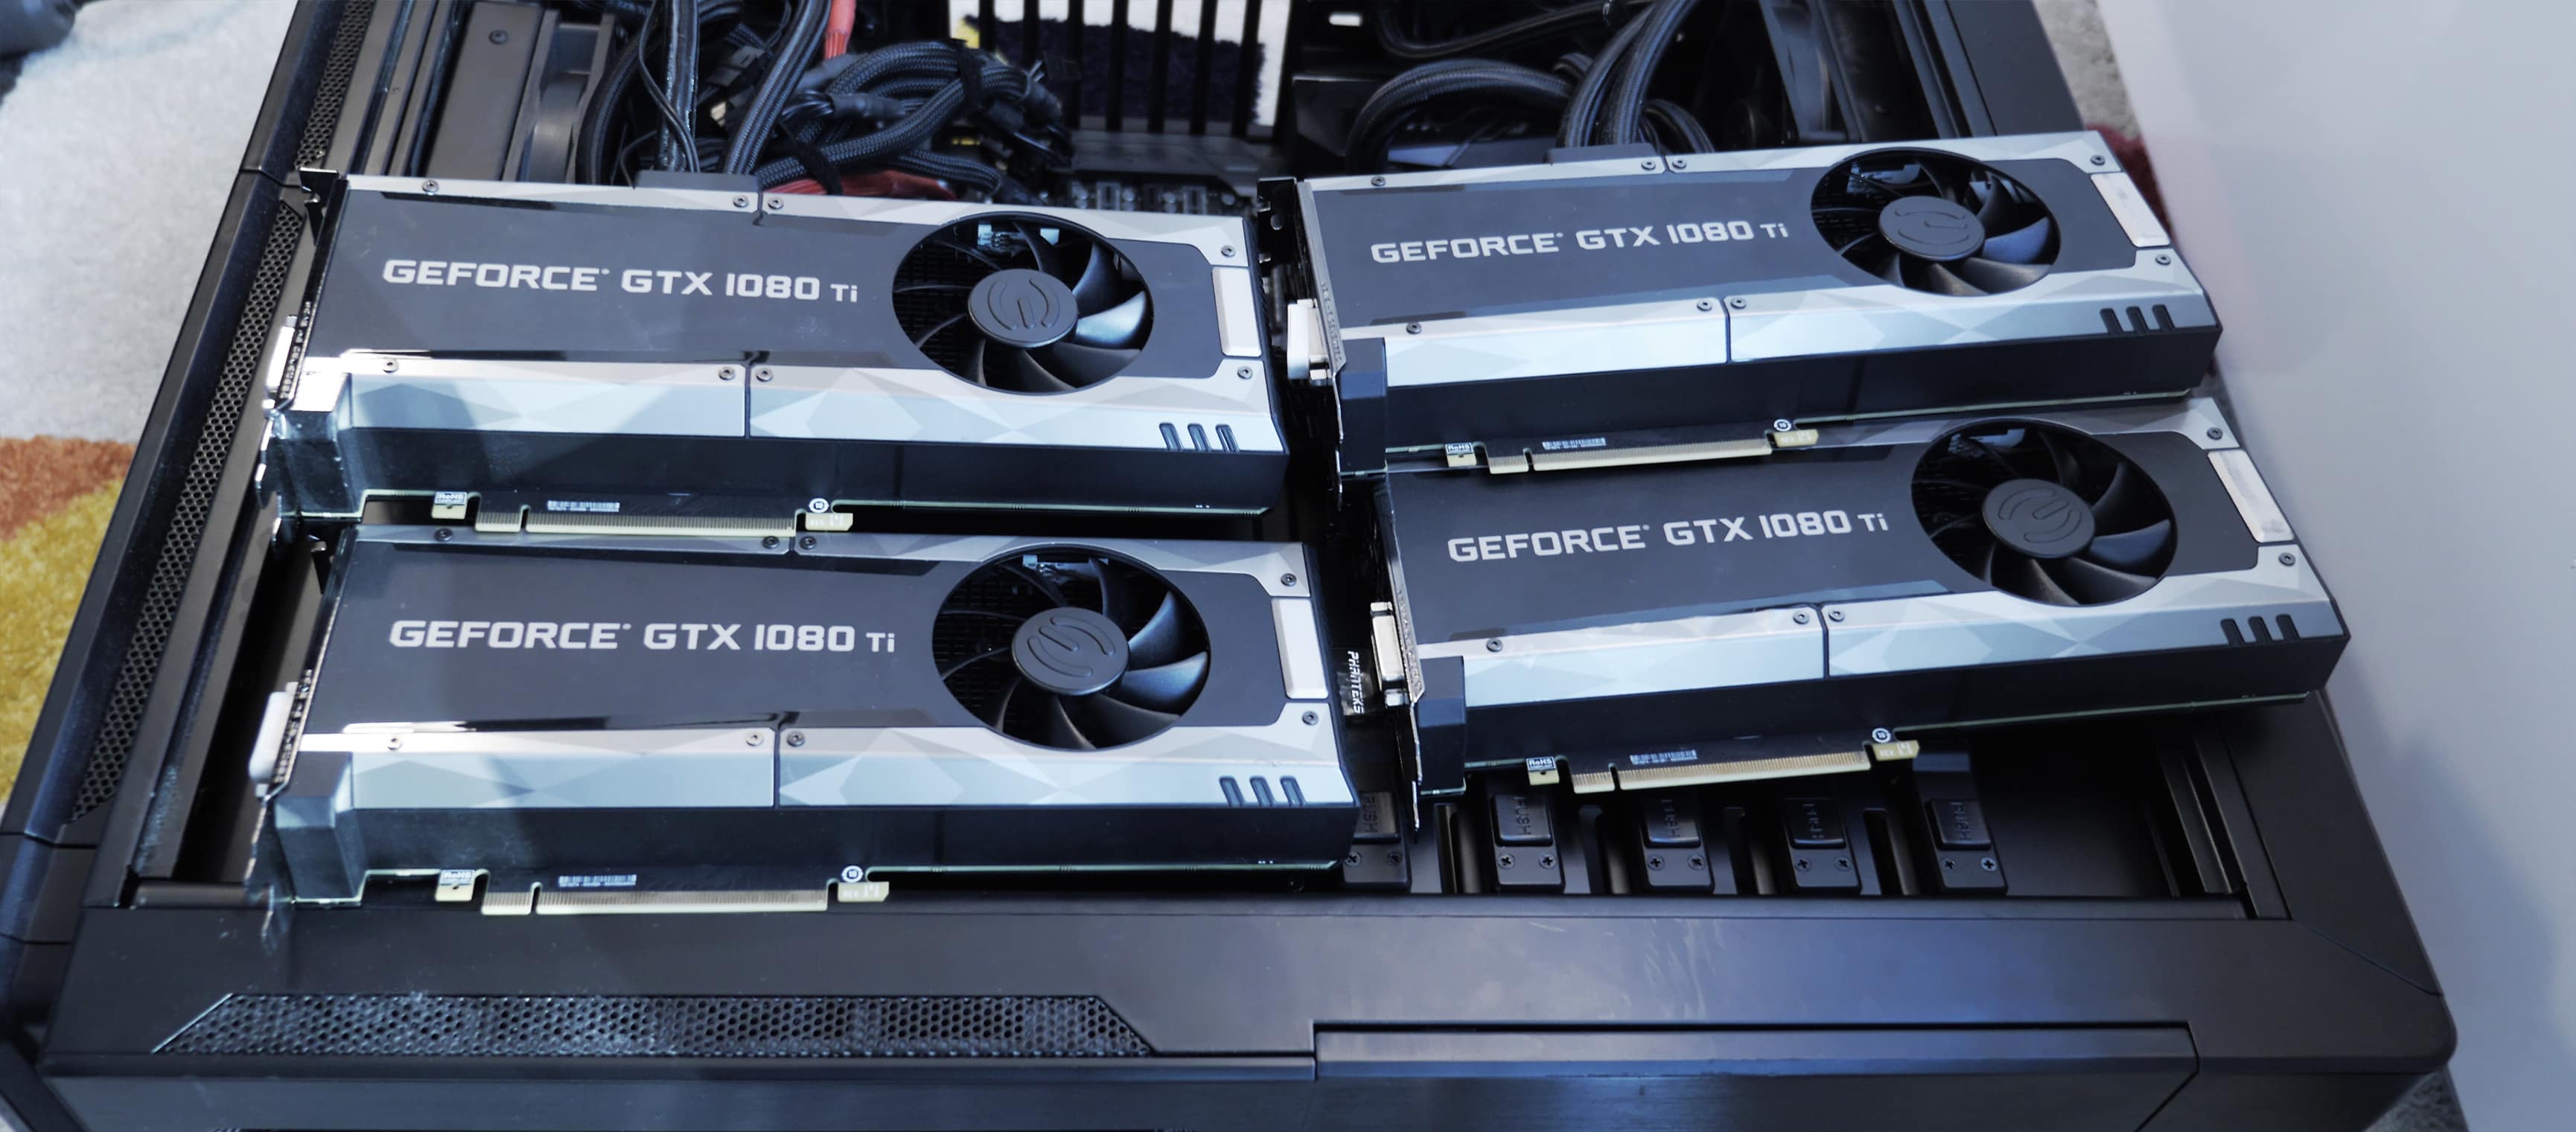
If you’re more so a designer, one or two cards should be sufficient, for someone like myself who does a lot of production work, I’d get at least 4 GPUs if you can. For my latest build I choose to go with 4 1080ti Hybrids.
Understanding PCIe Lanes
GPUs plug into slots called PCIe slots on your motherboard. Each slot usually has a lane configuration which more or less specifies the maximum amount of PCIe lanes each slot uses . They usually range from 16x, 8x, 4x and 1x. What these numbers represent is the amount of PCIe lanes each slot uses, so 16x means 16 lanes. It’s recommended that GPUs for rendering (more specifically when using Redshift) uses at least 16x or 8x lanes per GPU.
Choosing the right CPU
After considering how many GPUs you want (in this case 4 if since we’re following my build) the next step is to choose a CPU that has enough PCIe lanes to support the amount of GPUs. For example, if you have 4 cards and each one needs to run with at least 8x lanes, your CPU should have at least have 40 lanes, leaving the extra 8 lanes for other peripherals like M.2 hard drives. For my build I’m using an AMD Threadripper 1920x which has 64 PCIe lanes, so I can run two cards at 16x and the other two at 8x. Another consideration is the clock speed. Processors with higher clock speeds tend to render faster, though the difference is marginal, there is some rendering difference between a CPU running at 3.5 GHz and 4.1GHz.
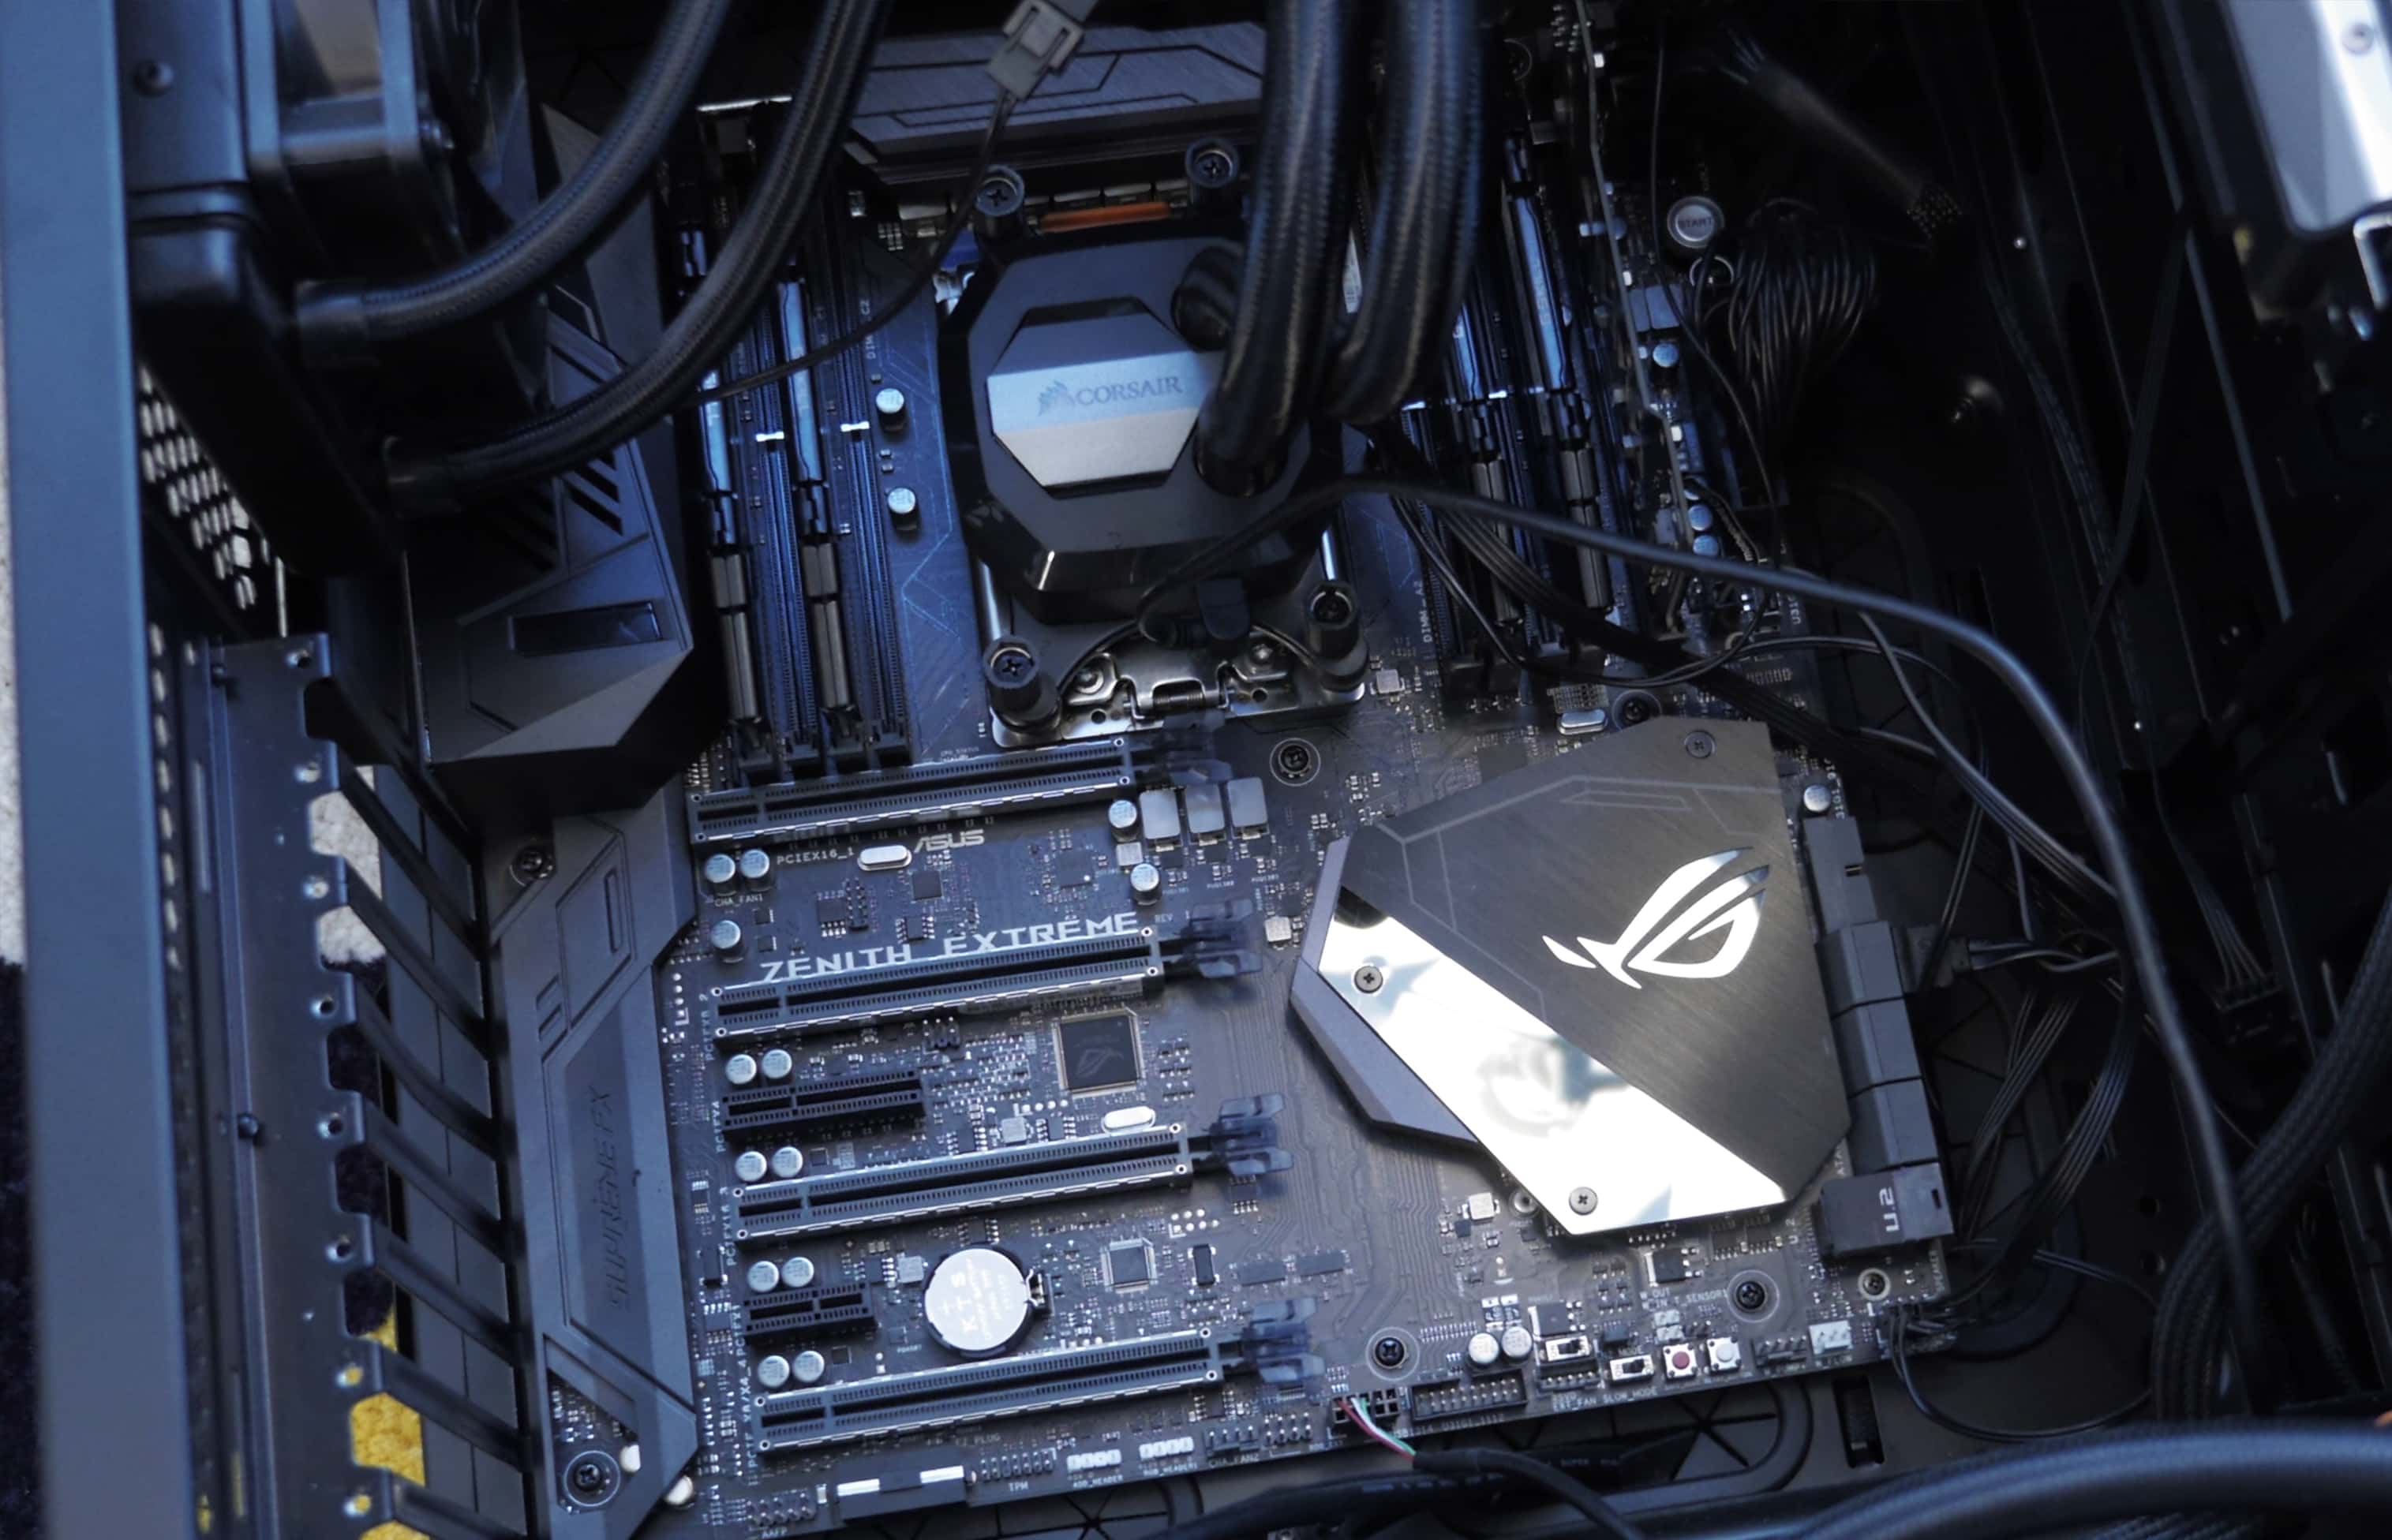
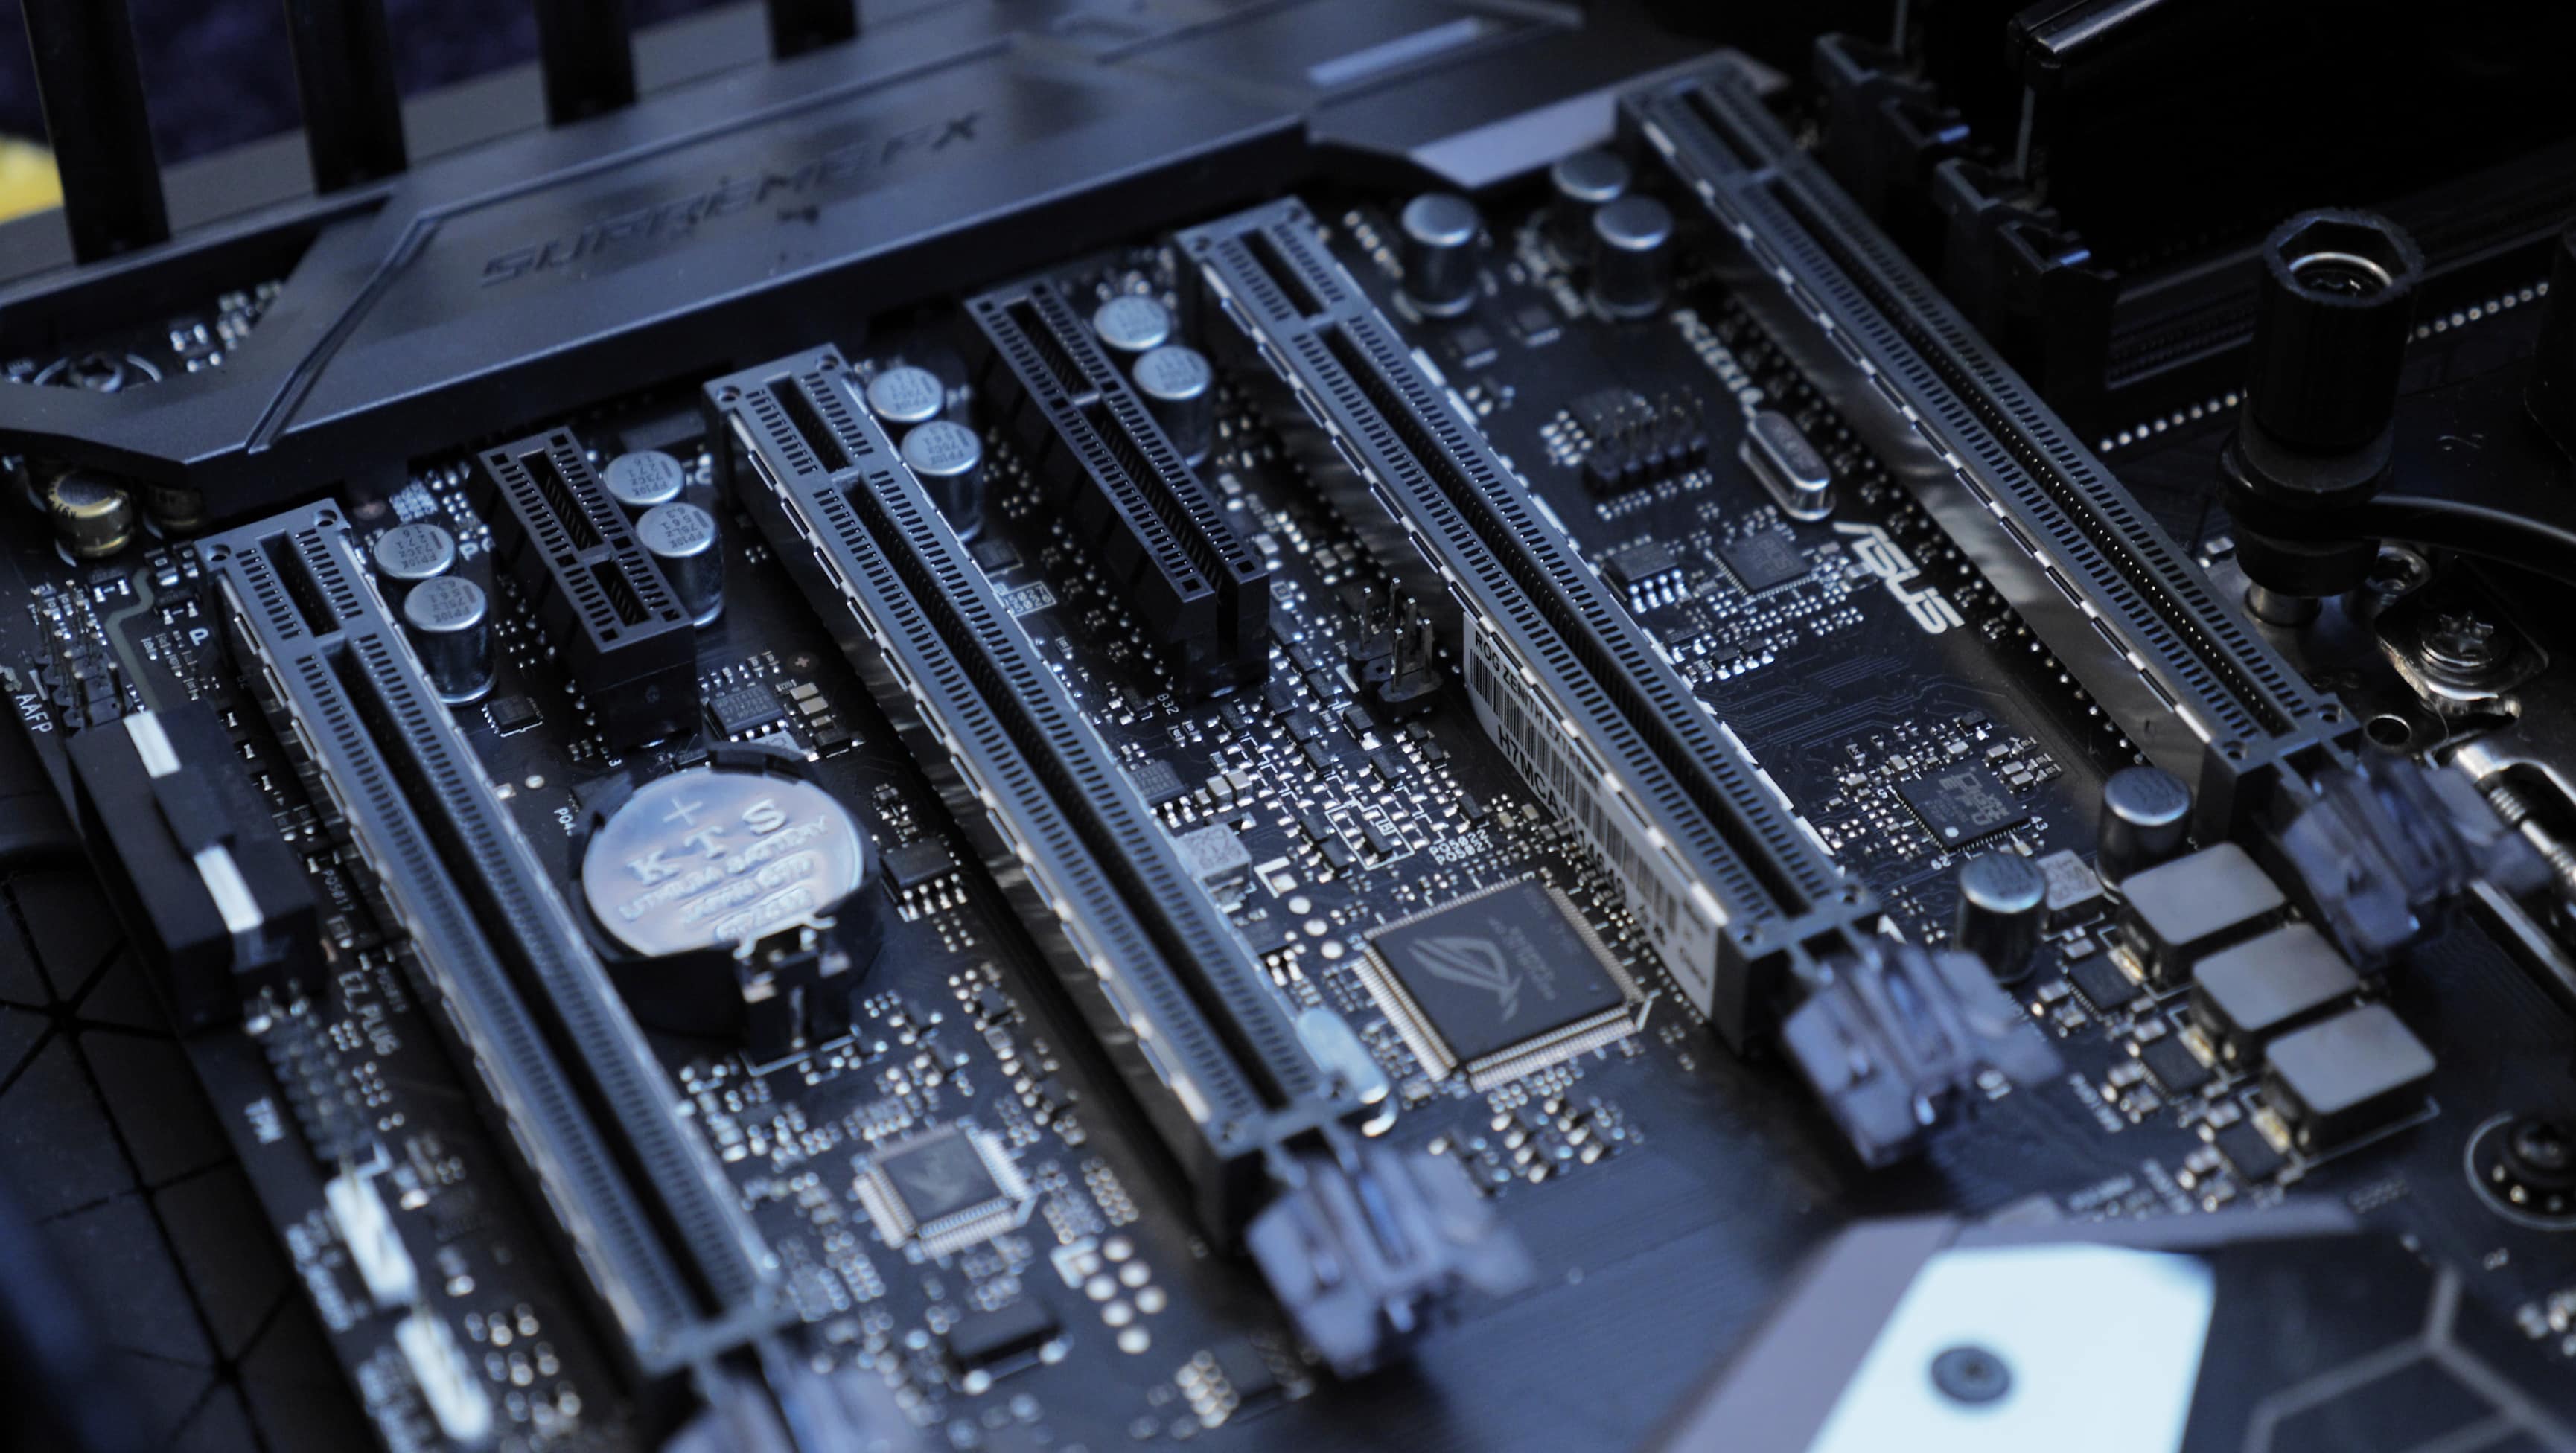
Choosing the Motherboard
Now when choosing the motherboard, these are two things you take into consideration, the processor socket/architecture and the available PCIe slots. Using an AMD Threadripper processor, I had to find a motherboard that utilize the socket and architecture built for that CPU, which is called TR4 and X399 respectively. You can easily find out what socket and architecture works for each processor by looking at the product description of the processor. I then have to make sure it had enough PCIe slots to fit the GPUs. One thing you have to be aware of is 4 GPUs don’t equal 4 PCIe slots per motherboard. Higher end GPUs tend to take up two PCIe slot spaces (plug’s into one and covers up the one right below it). It’s not just about making sure a motherboard has 4 slots but making sure they have 4 slots with enough space to fit 4 cards. The motherboard I’m using, the Asus Zenith Extreme board has 4 PCIe slots but are spaced in a dual slot configuration, so each slot can comfortably hold a dual slot GPU.
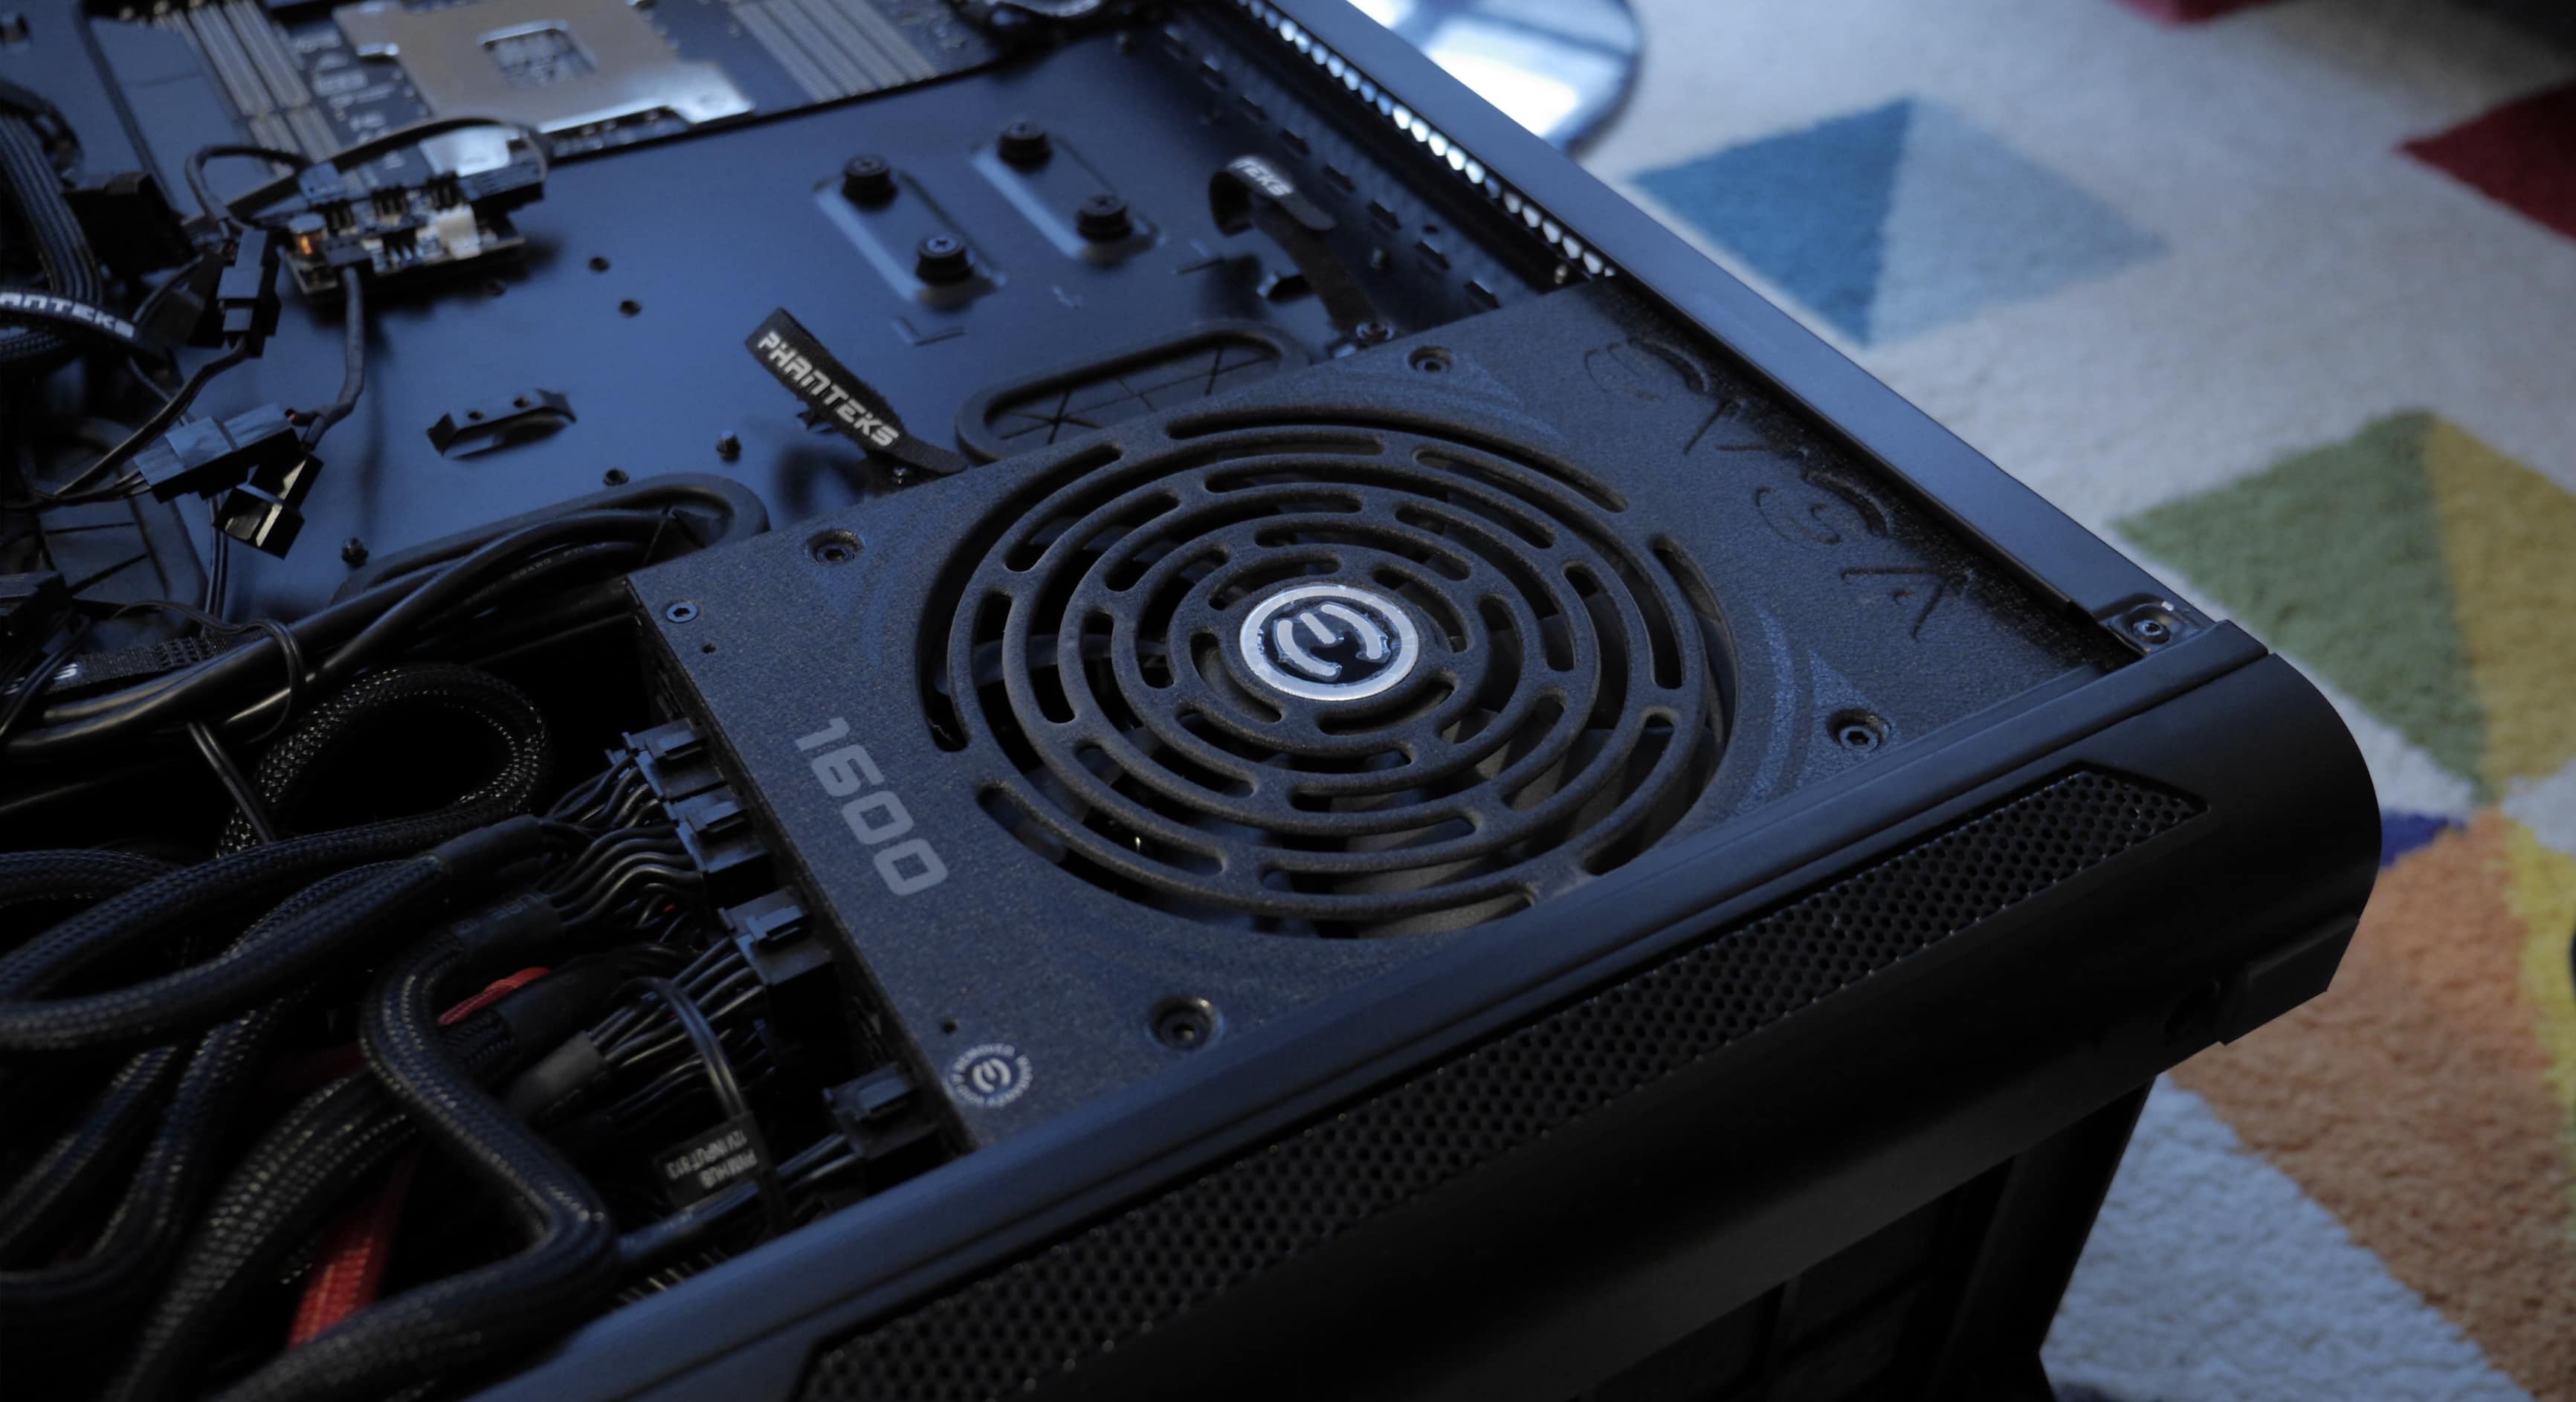
Power Supply
Now that we have a few parts, we need to figure out how much power we’re going to need. This is where pcpartpicker is a life saver. As you build your PC on the site, it tells you how many watts all your parts are going to need. This makes things easy as you can use that wattage number to purchase the correct power supply. For a 4 card 1080ti build, I went with an EVGA 1600 watt power supply.
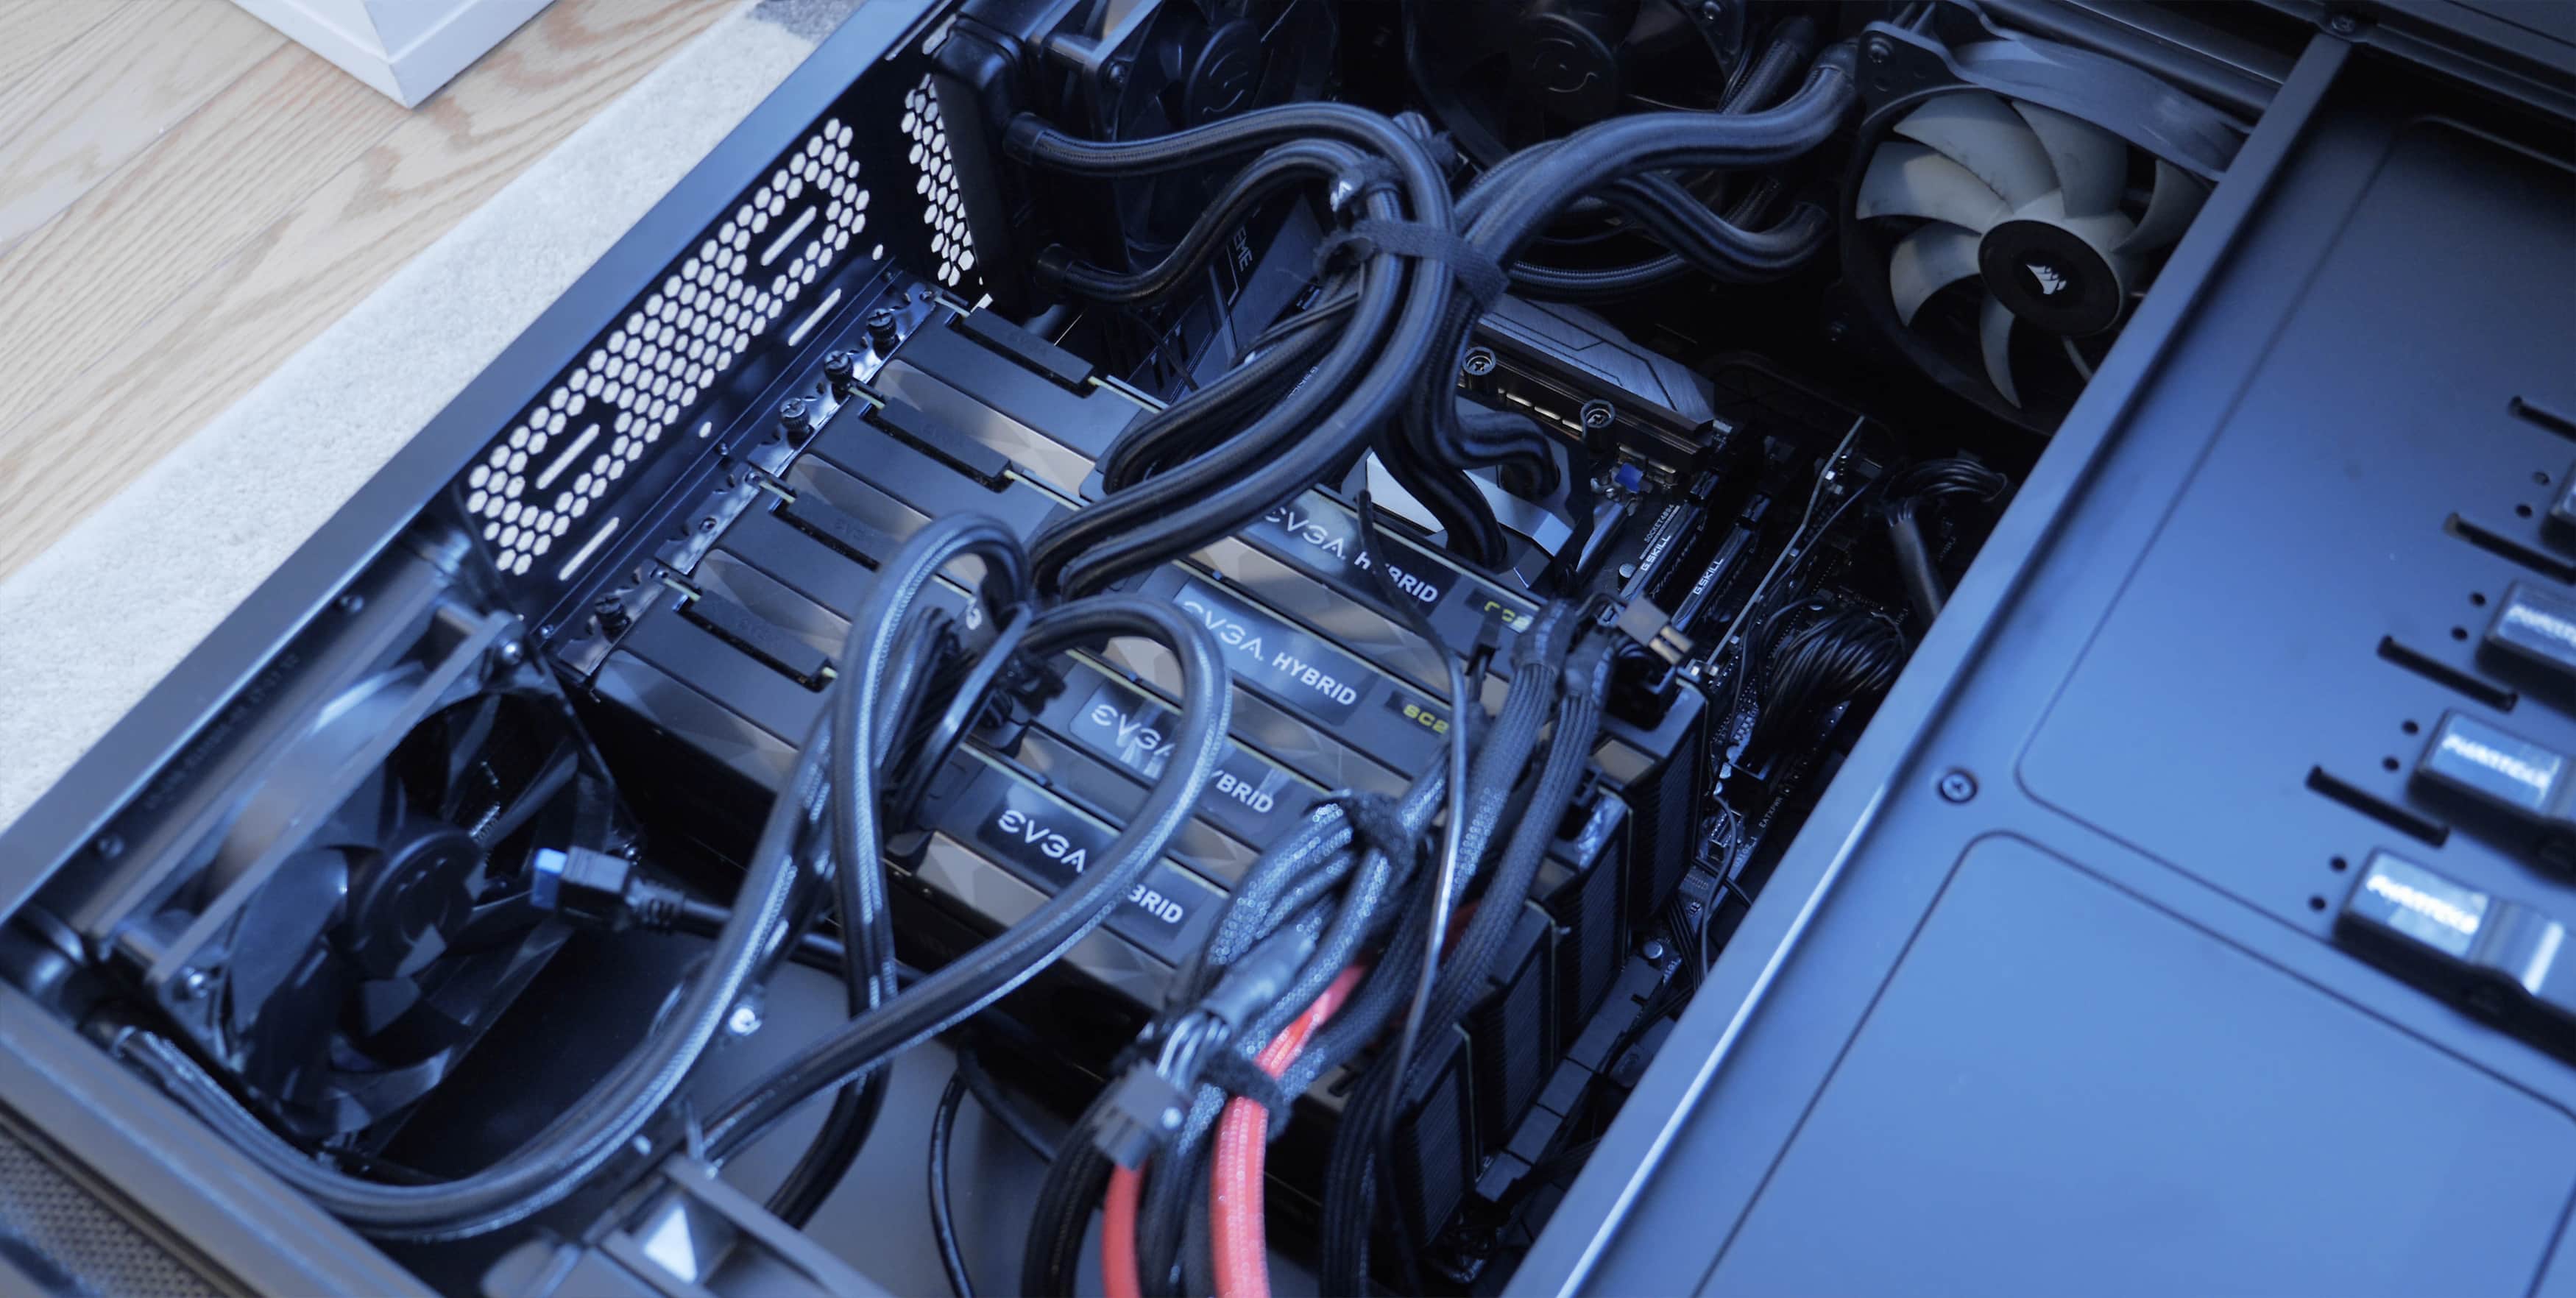
Cooling
Cards are usually cooled in three ways; air cooled, liquid cooled and hybrid cooling which is a combination or air and liquid cooling. The most common type of cooling is air cooled which tends to work fine when using 3 cards or less. If you are using 4 GPUs they tend to be sandwiched together and can get really hot. To avoid this I’d recommend using hybrid cards. The combination of air and liquid cooling works significantly more efficiently than just air cooling. The drawback here is they are usually more expensive and take up more room in your case.
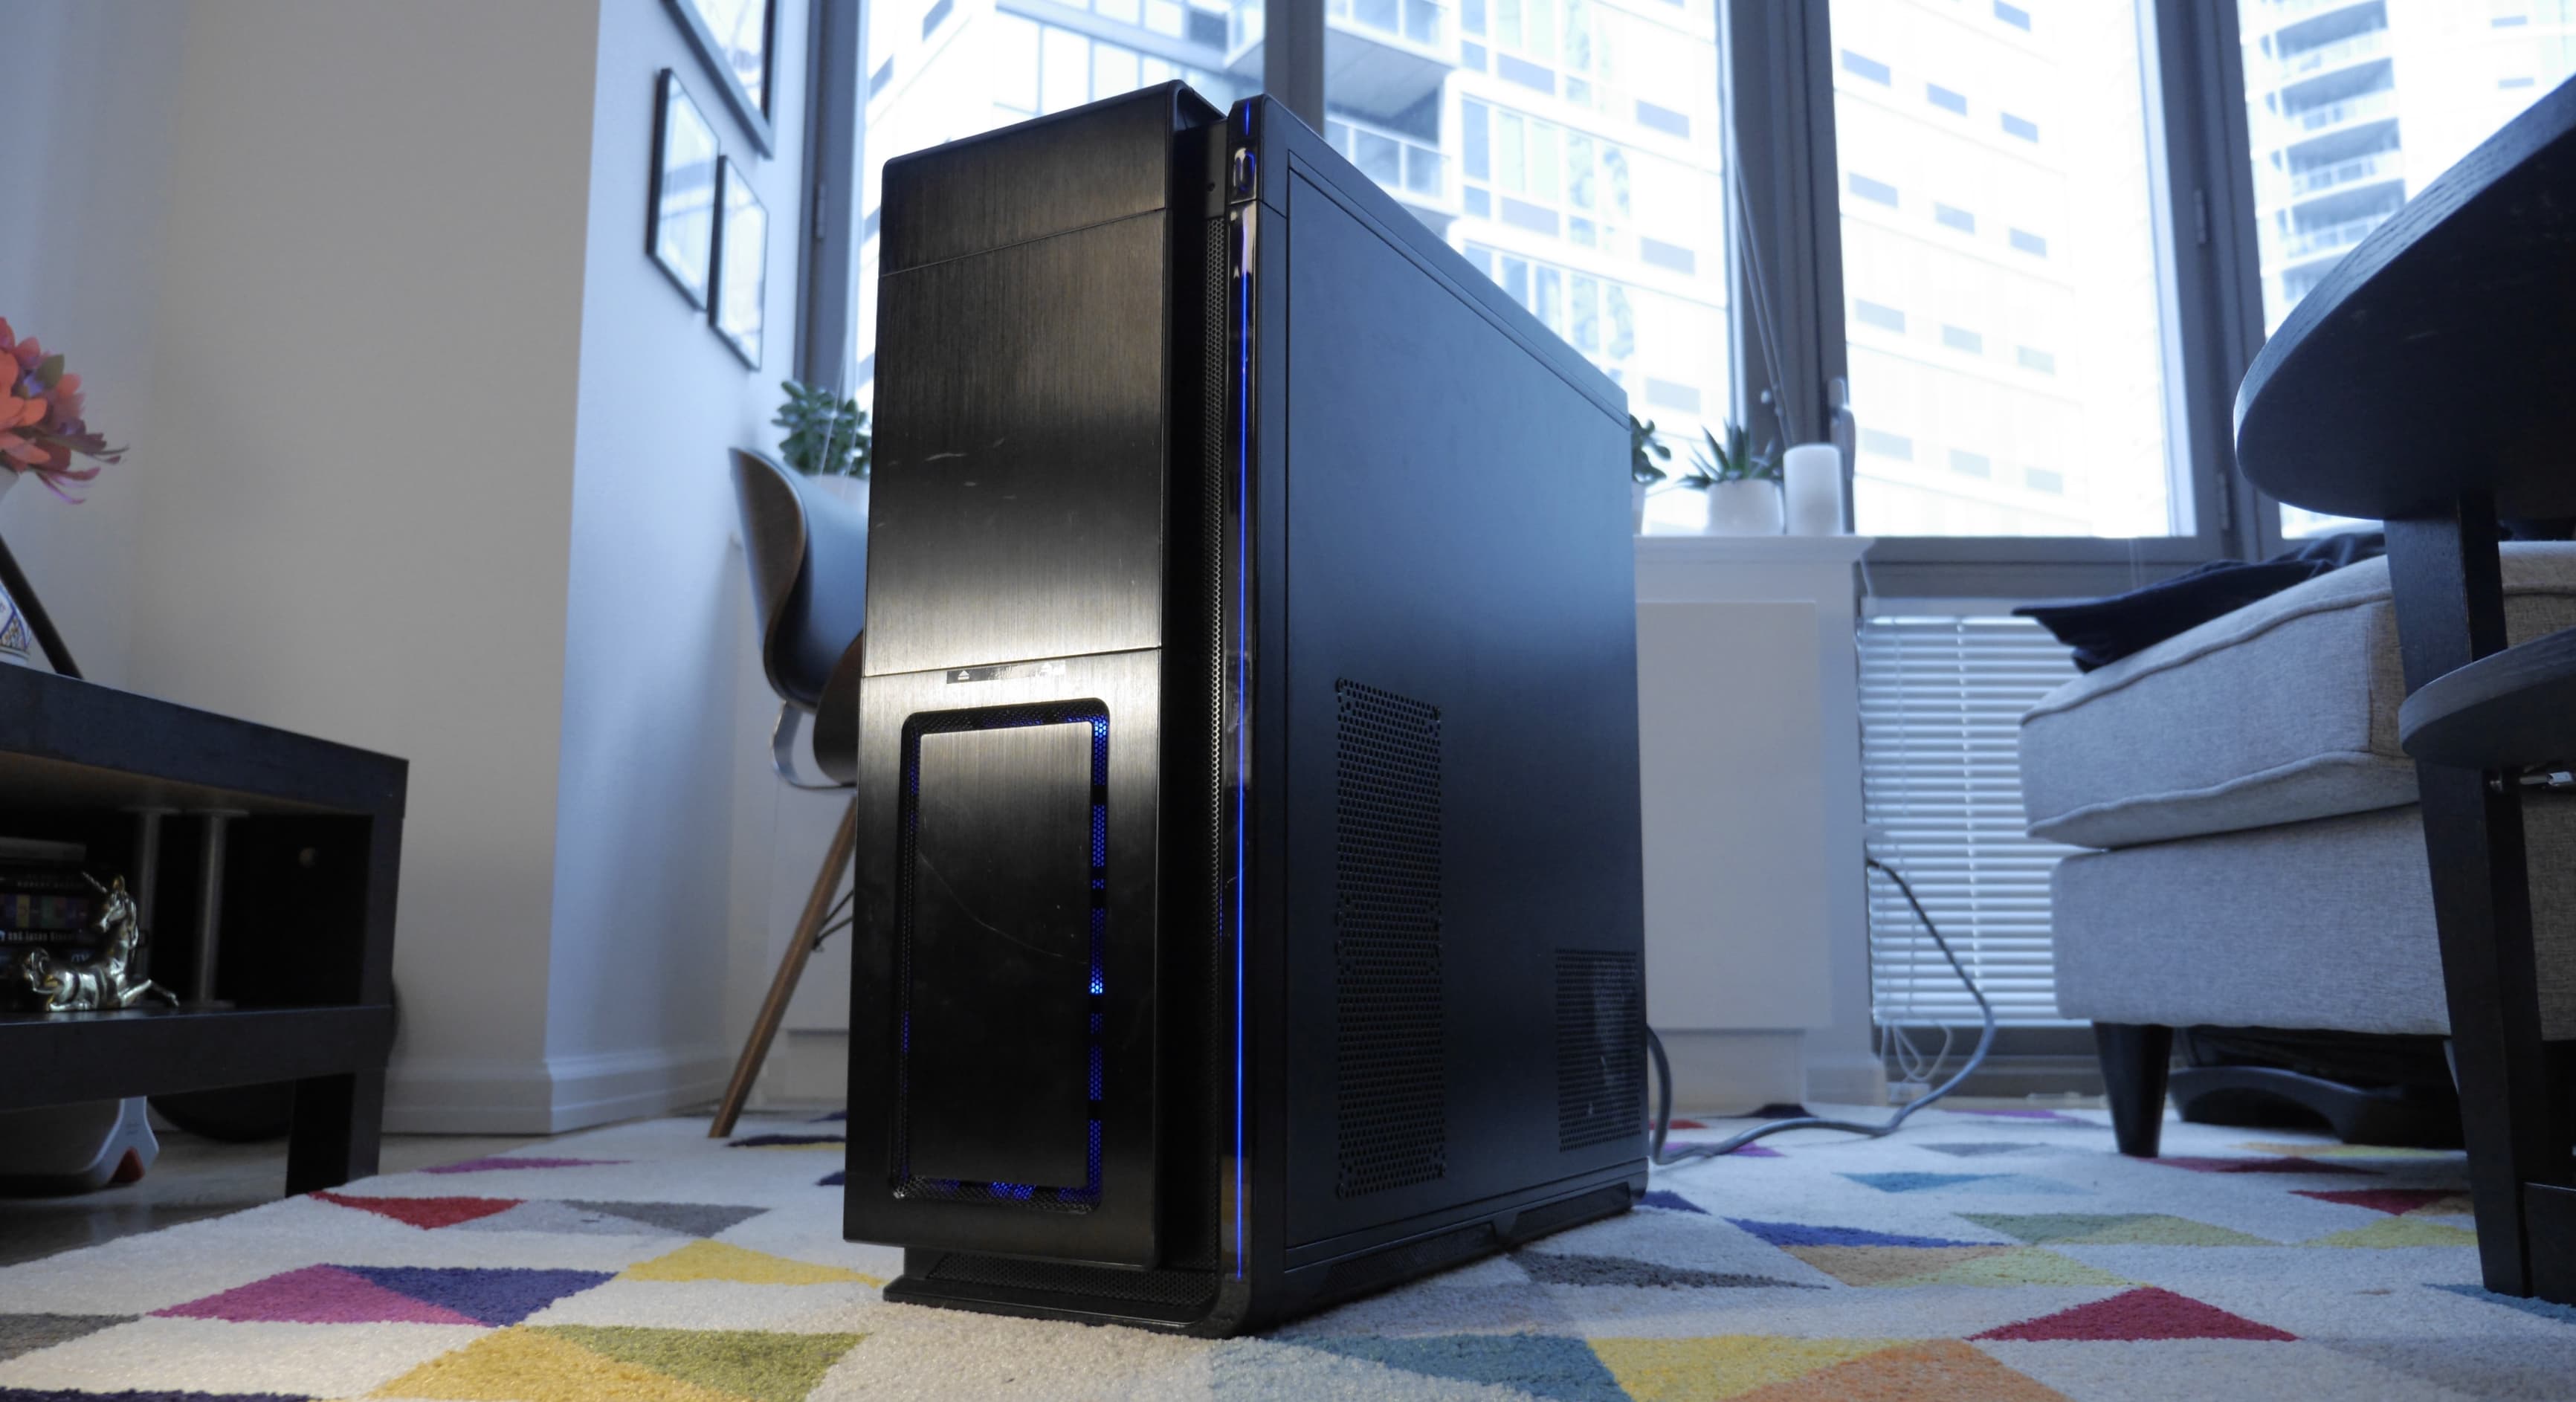
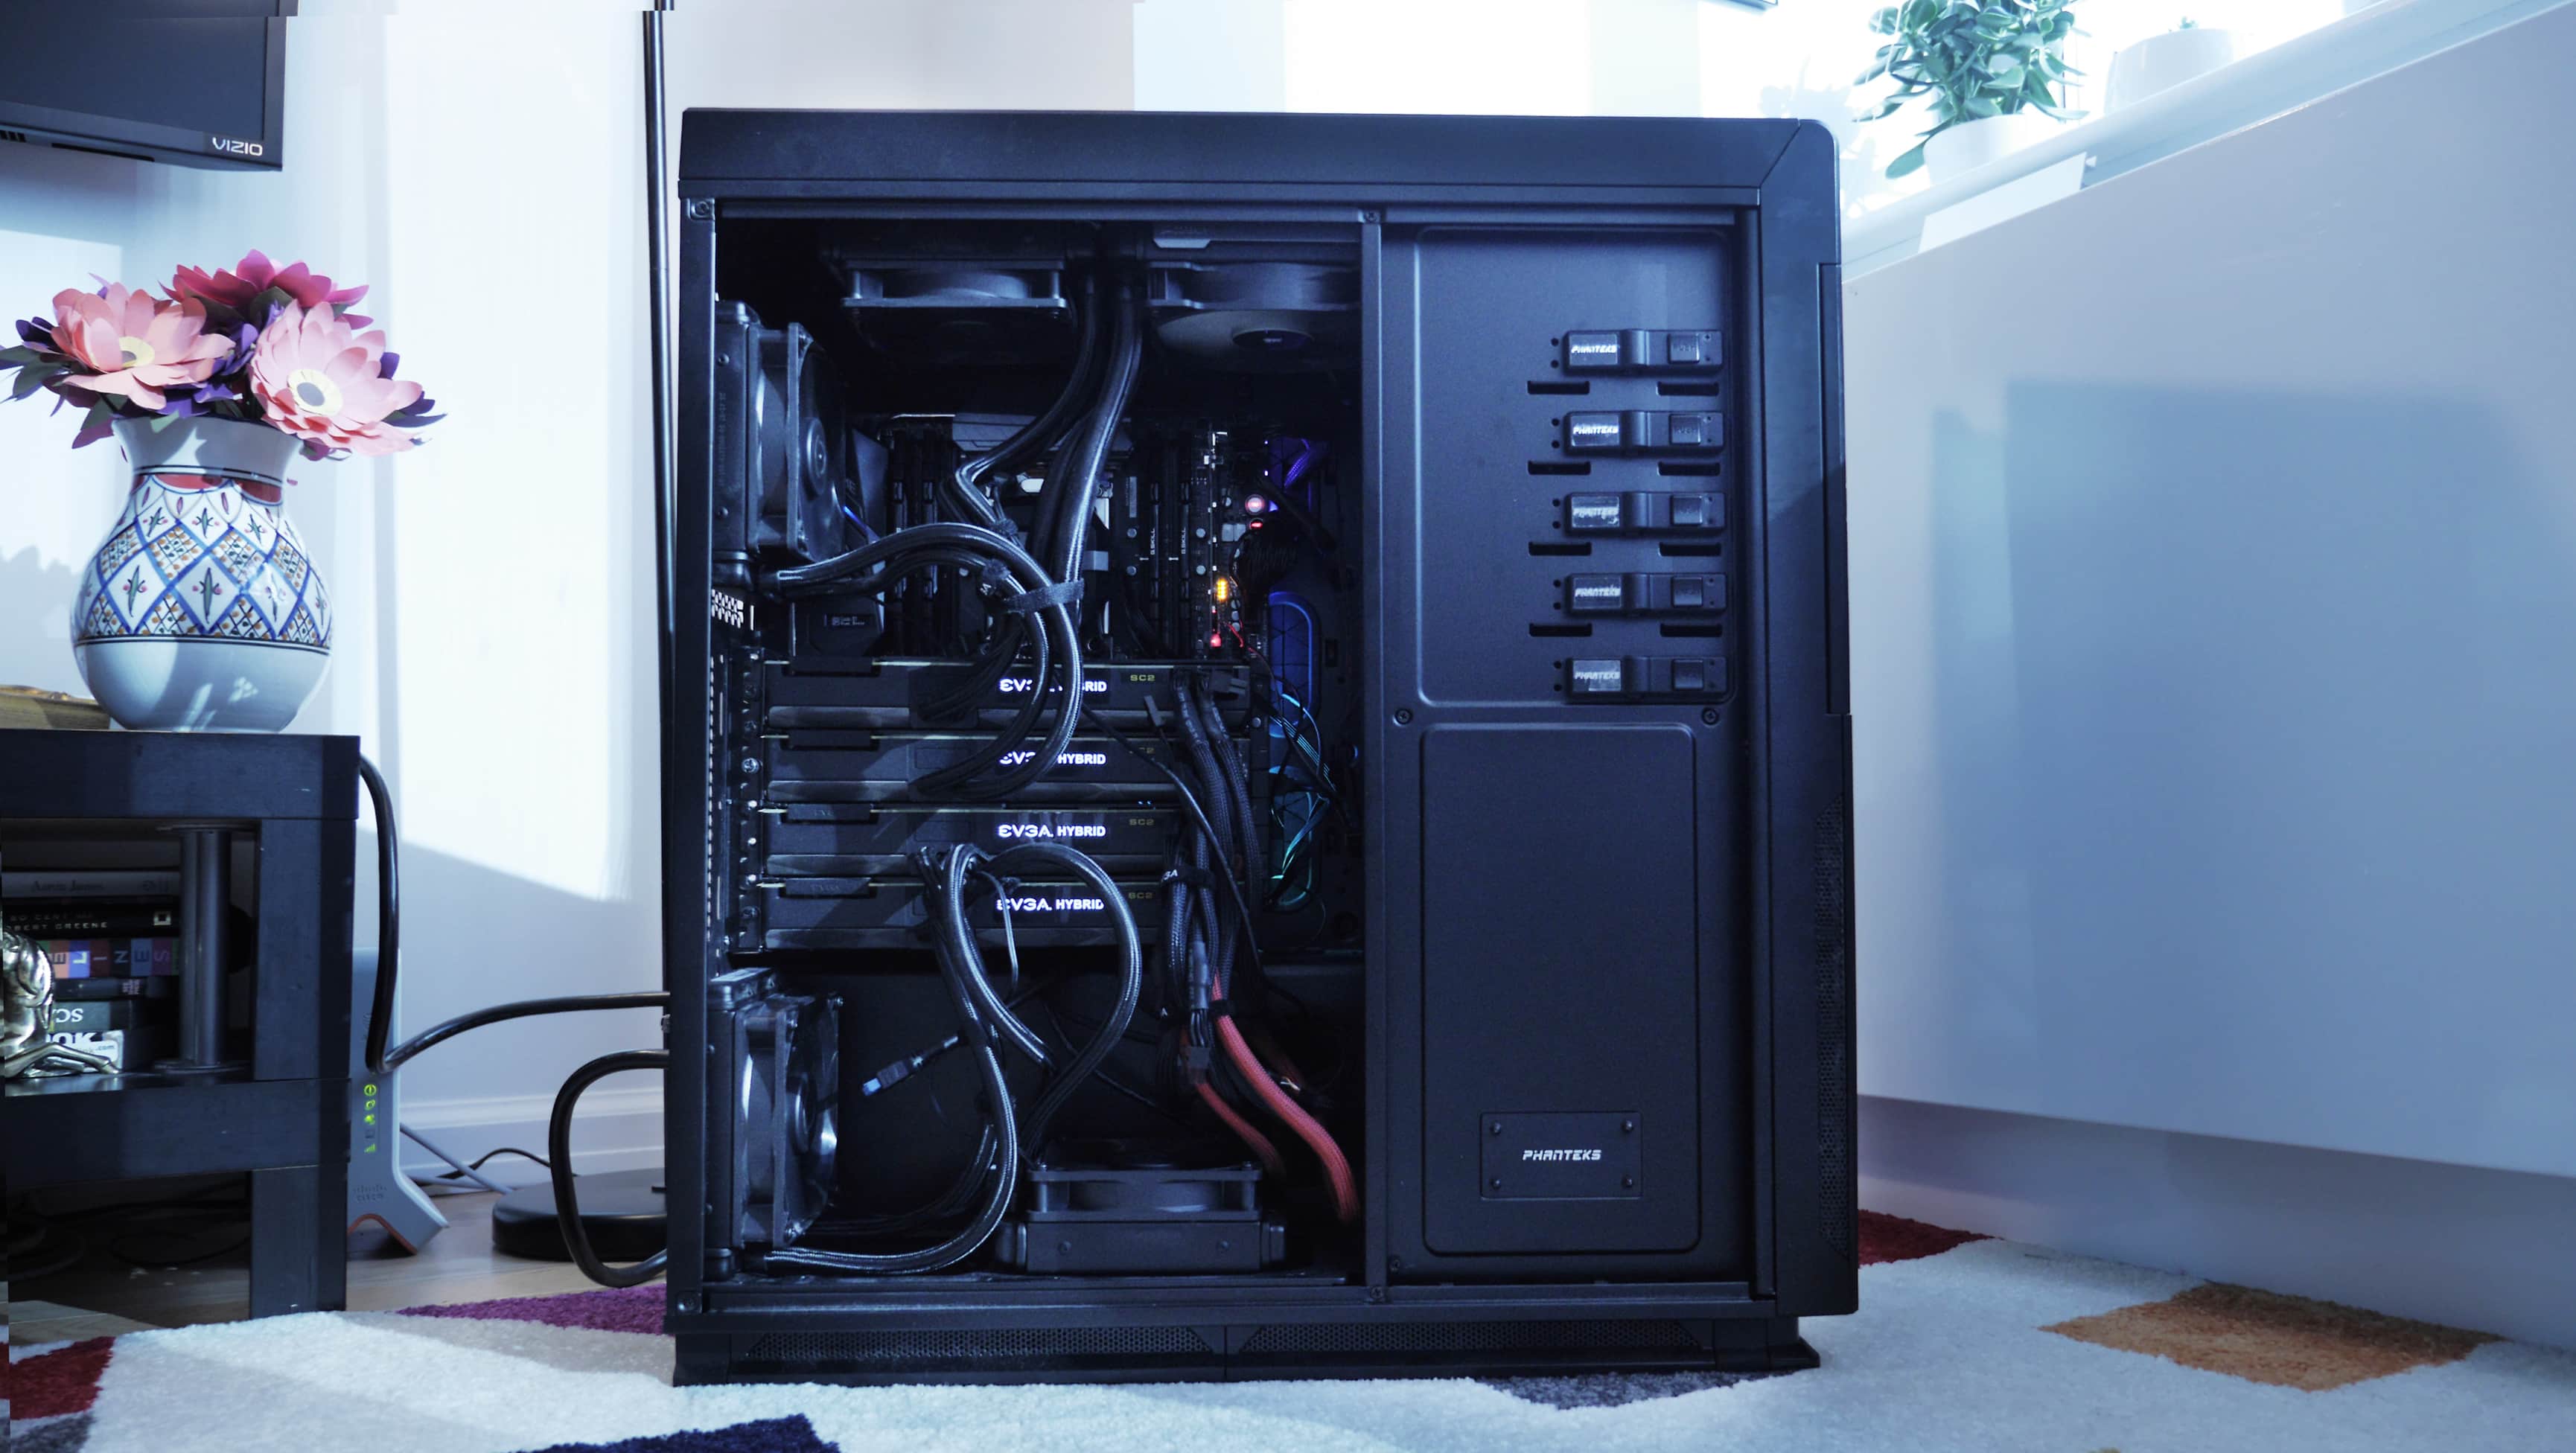
The Case
Now we have to find an enclosure to put everything in. The most important thing when choosing a case is making sure it’s compatible with your motherboard’s form factor. This essentially is a standardized set of sizes and screw hole placements for motherboards. So for example the Asus Zenith Extreme motherboard has an ATX form factor, so I need to make sure my case is ATX compatible. Also because I’ve decided to use 4 hybrid GPUs I need to find a case that’s going to fit all the radiators from those GPUs, another thing to keep in mind.
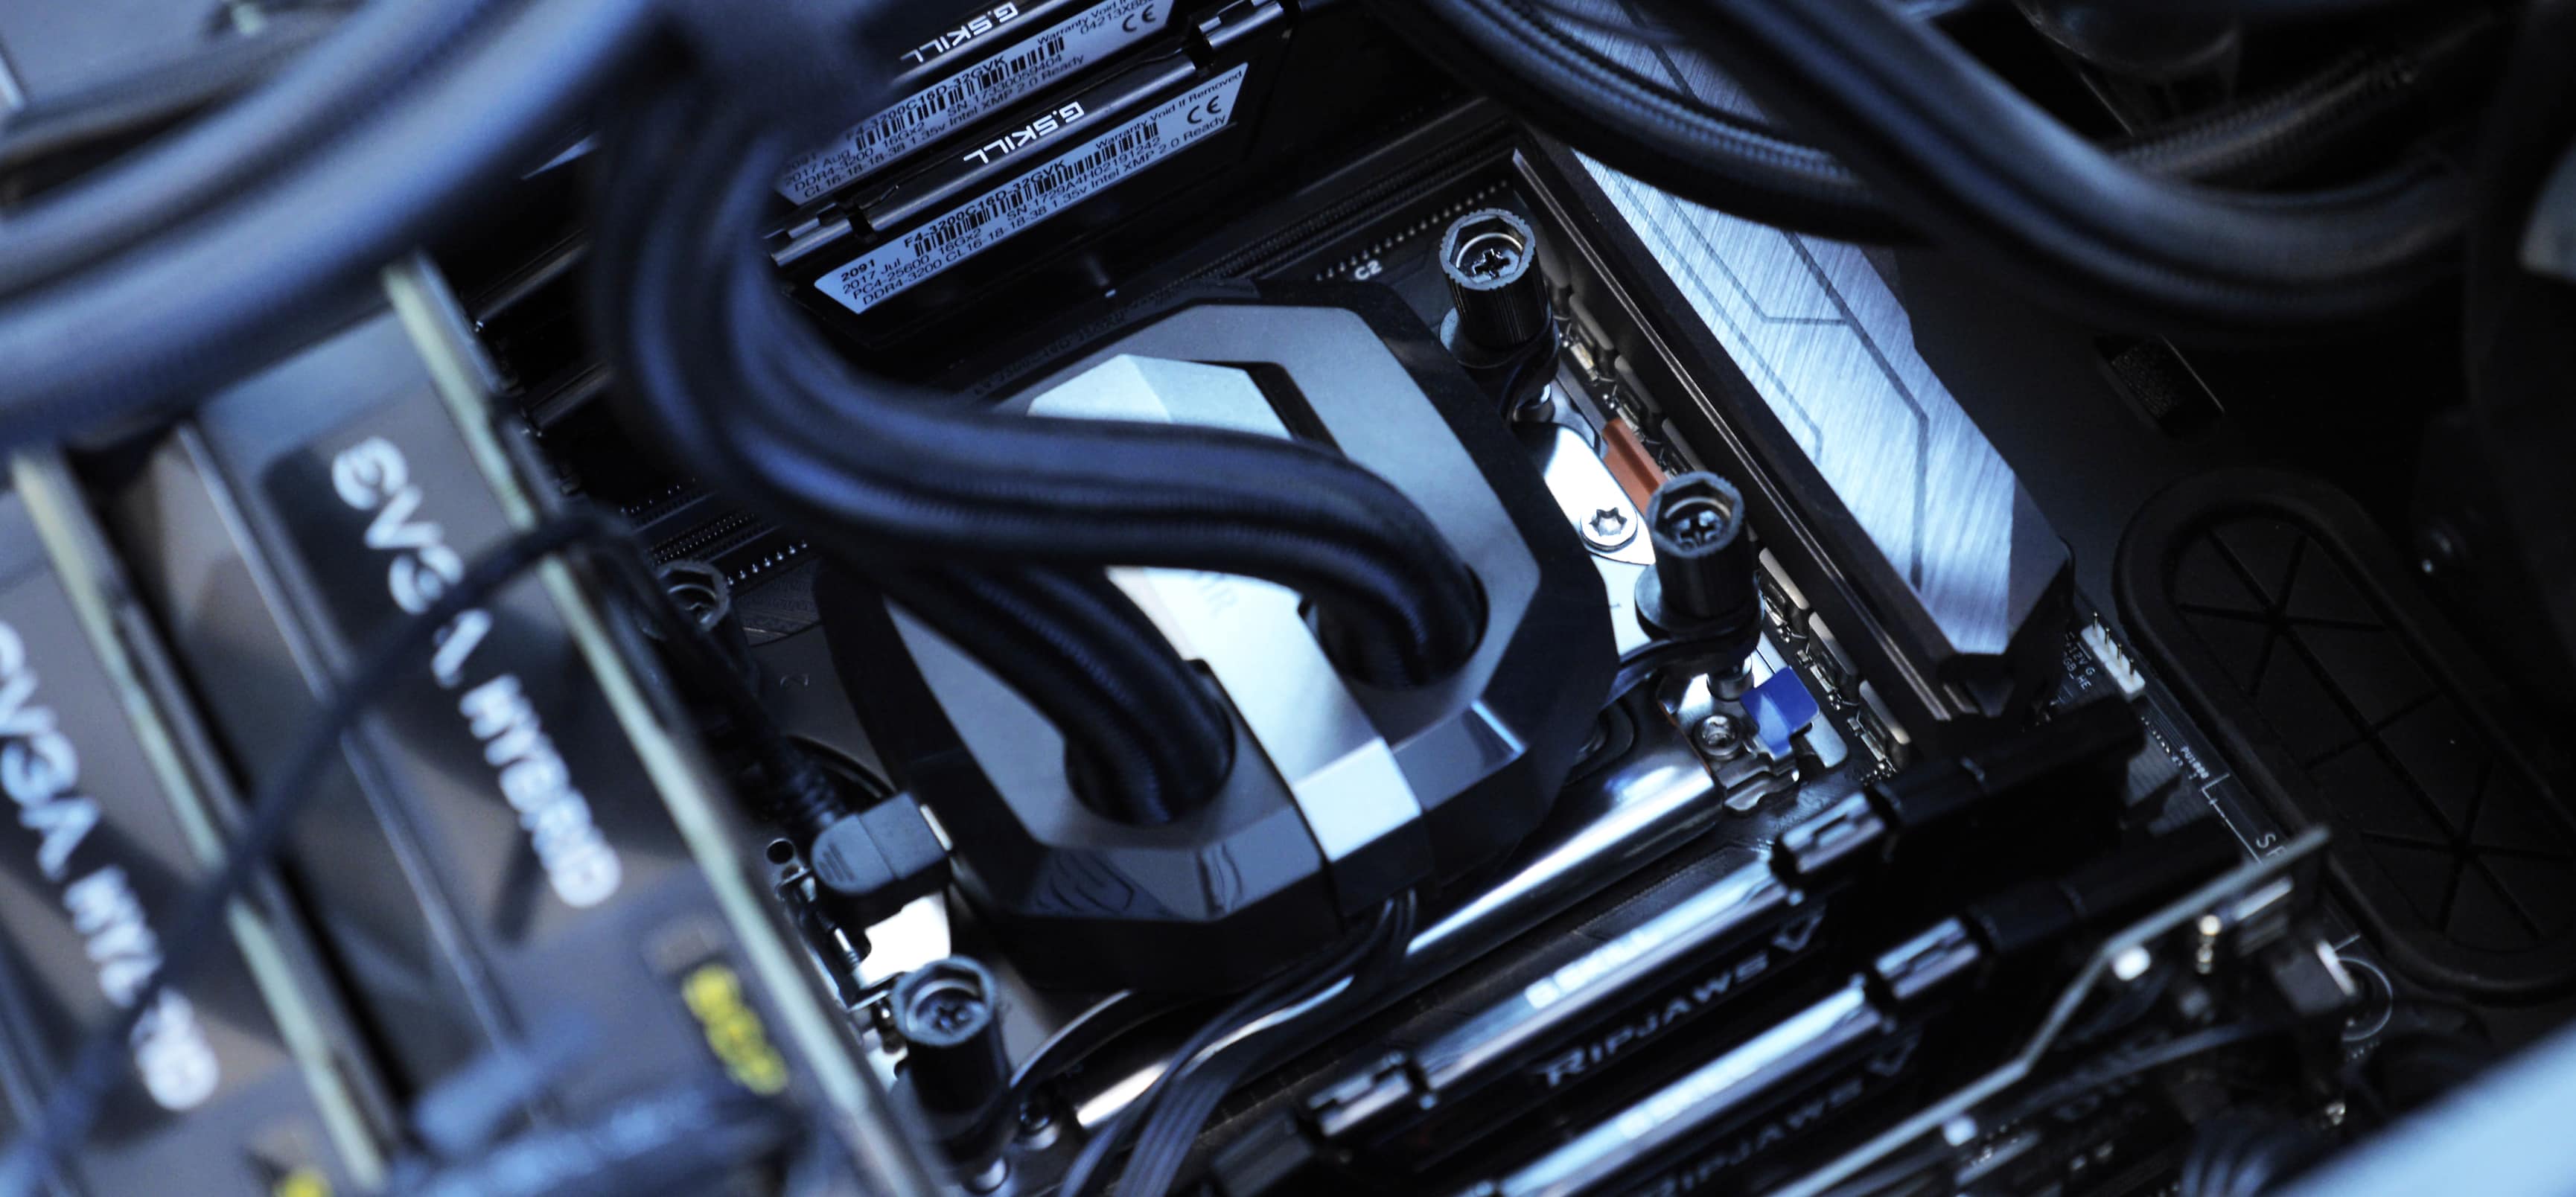
CPU Cooling and other peripherals
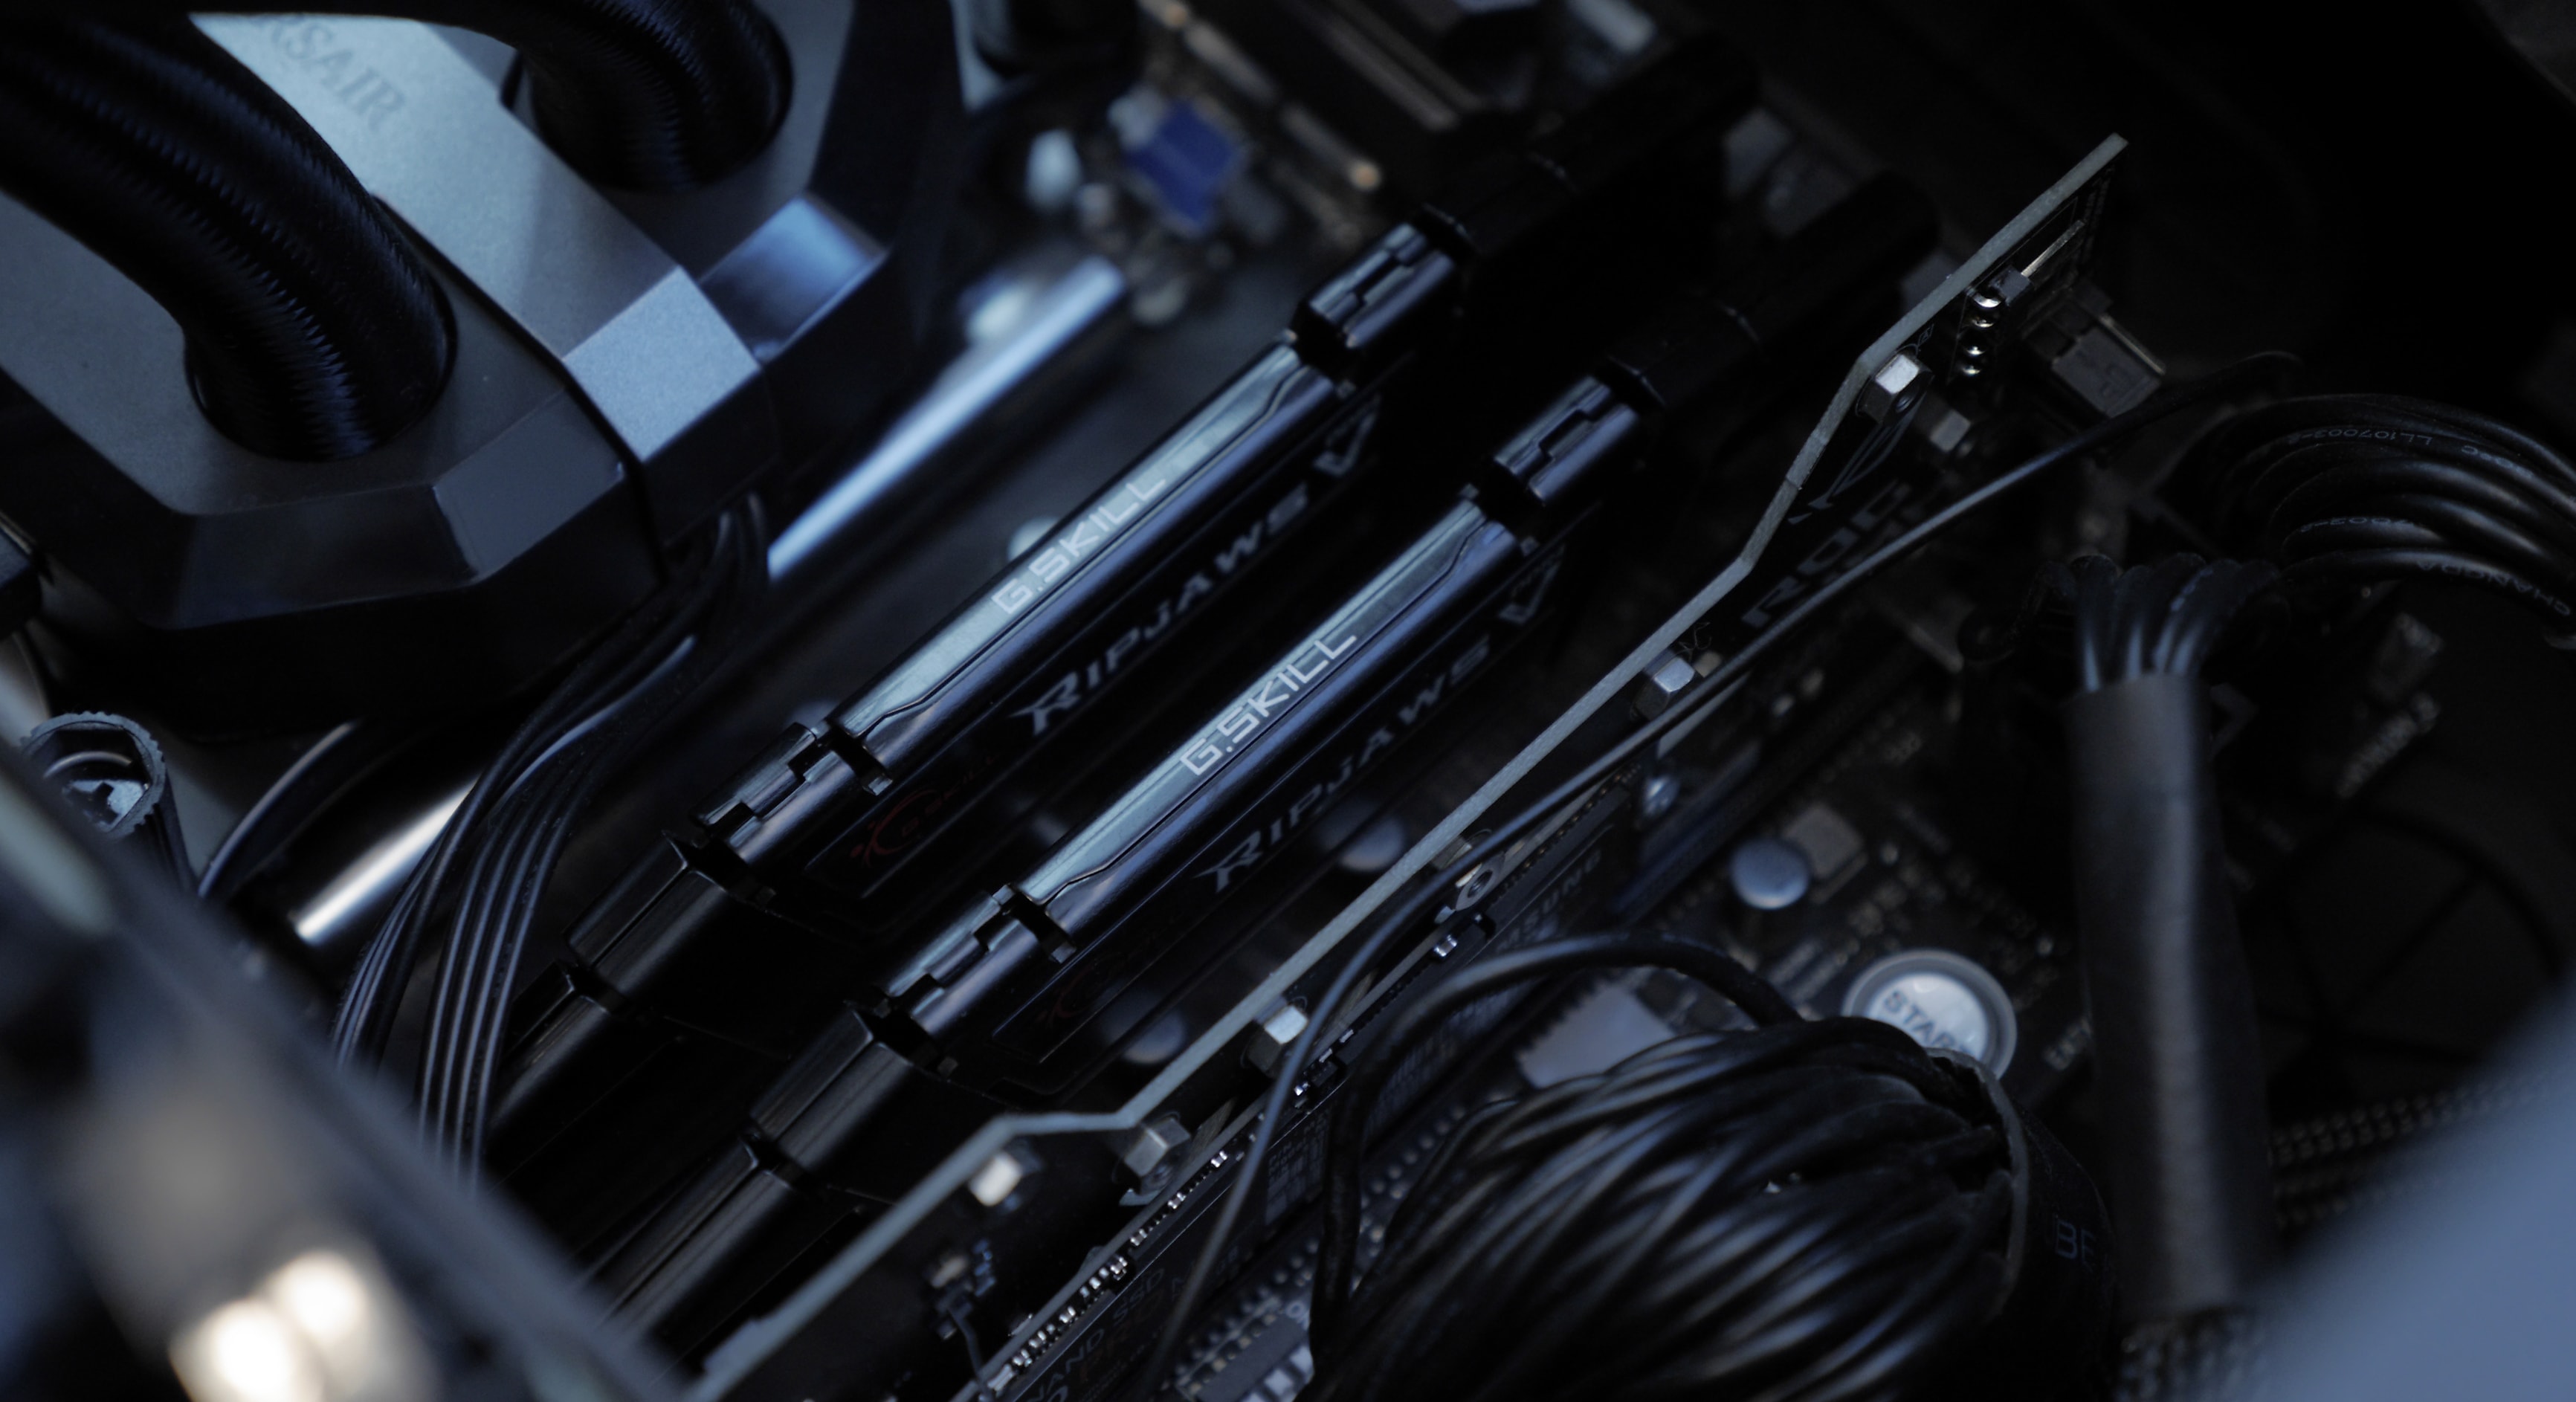
The other things you’ll need to complete the build is a CPU cooler, Ram and Hard Drive. For best performance, I’d go with a CPU liquid cooler. I’m a pretty big fan of the coolers Corsair makes. Ram is more dependent on what CPU you choose. Look at the accepted generations (DDR3, DDR4) and clock speed and choose one based on how much speed and size you want. For max performance hard drive speed, definitely grab an M.2 hard drive, they are pricier but will give you better performance.
Conclusion
So there you have it, a general overview of how to approach choosing parts for your build, There are definitely more steps involved, particularly putting the build together and the initial Windows operating system setup, but there are countless manuals and videos that covers these topics. To recap, you should first get a good idea of how many GPUs you want, then begin researching a processor that has good clock speed and enough PCIe lanes to run the amount of cards you want. Then find a motherboard that is compatible with the CPU architecture and has enough PCIe slots to fit all your cards. Finally find a case that can fit your motherboard form factor and a power supply that can power all your parts. For part setup be sure to read your manuals carefully. Happy adventures building your GPU rigs!.